Start building product subscription app extensions
Product subscription app extensions won't be supported as of August 10, 2026. You should migrate existing product subscription app extensions to purchase options extensions.
Product subscription app extensions won't be supported as of August 10, 2026. You should migrate existing product subscription app extensions to purchase options extensions.
You can build a product subscription app extension using App Bridge Admin. This tutorial explains how to get started building a product subscription app extension.
Anchor to What you'll learnWhat you'll learn
In this tutorial, you'll learn how to do the following tasks:
- Create a product subscription app extension.
- Run the extension locally and test it on a dev store.
Anchor to RequirementsRequirements
- Most subscriptions, pre-order and try before you buy apps need to request API access through the Partner Dashboard. We give API access to apps that are designed according to our principles for subscriptions, pre-order and TBYB apps.
- Public apps that use subscriptions, pre-order or TBYB need to meet specific requirements to be published on the Shopify App Store.
- Custom apps created in the Shopify admin can't use subscriptions, pre-order or TBYB because these apps can't use extensions or request access to protected scopes. If you're building a solution for a single store, then build your custom app in the Partner Dashboard.
- You're a user with app development permissions and have created a dev store that uses generated test data.
- You've created an app that uses Shopify CLI 3.0 or higher.
Anchor to Access scopesAccess scopes
Your app requires the following access scopes:
Anchor to SubscriptionsSubscriptions
write_productsread_customer_payment_methodsread_own_subscription_contractswrite_own_subscription_contracts
Anchor to Deferred purchase optionsDeferred purchase options
write_productsread_all_ordersread_customer_payment_methodsread_purchase_optionswrite_purchase_optionsread_payment_mandatewrite_payment_mandate
Anchor to Step 1: Generate a new extensionStep 1: Generate a new extension
Use Shopify CLI to generate a new extension.
-
Navigate to your app directory.
-
To start creating the app extension, run the following command:
Terminal
shopify app generate extension -
Select
subscription UIas the type of extension. -
Provide a name for your extension using either dash case or snake case.
-
Select a template for your extension. You can choose from Vanilla JS or React.
TipVanilla JS is suitable for smaller projects that require a more straightforward API. React is suitable when you want an easy model for mapping state updates to UI updates. With Vanilla JS, you need to map state updates yourself. This process is similar to writing a vanilla application targeting the DOM, versus using
react-dom.Tip:Vanilla JS is suitable for smaller projects that require a more straightforward API. React is suitable when you want an easy model for mapping state updates to UI updates. With Vanilla JS, you need to map state updates yourself. This process is similar to writing a vanilla application targeting the DOM, versus using
react-dom.
You should now have a new extension directory that includes the extension script at src/index.{file-extension}.
Anchor to Step 2: Preview your extensionStep 2: Preview your extension
After your extension is created, you can work with it by building the app and starting a local development server.
Shopify CLI uses Cloudflare to create a tunnel that allows your app and extension to be accessed using a unique HTTPS URL.
-
Navigate to your app directory.
-
Either start or restart your server to build and preview your app:
Terminal
shopify app dev
When you run the
devcommand, Shopify CLI builds and serves your app. It also walks you through multiple configuration steps. If you've already rundevfor this app, then some of these steps are skipped.To learn about the processes that are executed when you run
dev, refer to the list of Shopify CLI commands.TipYou can test using a specific product ID by passing it in using the
--subscription-product-urlflag. For example,--subscription-product-url="/products/12345", where12345is the product variant ID.Tip:You can test using a specific product ID by passing it in using the
--subscription-product-urlflag. For example,--subscription-product-url="/products/12345", where12345is the product variant ID.
- Press
pto open the Dev Console. - In the extension list for your app, click on the preview link for the product subscription extension.
Anchor to Step 3: Check the extension script statusStep 3: Check the extension script status
Now that you have your local extension running in your dev store, you can check the app extension status and update the extension script.
-
Click the Developer Console navigation option.
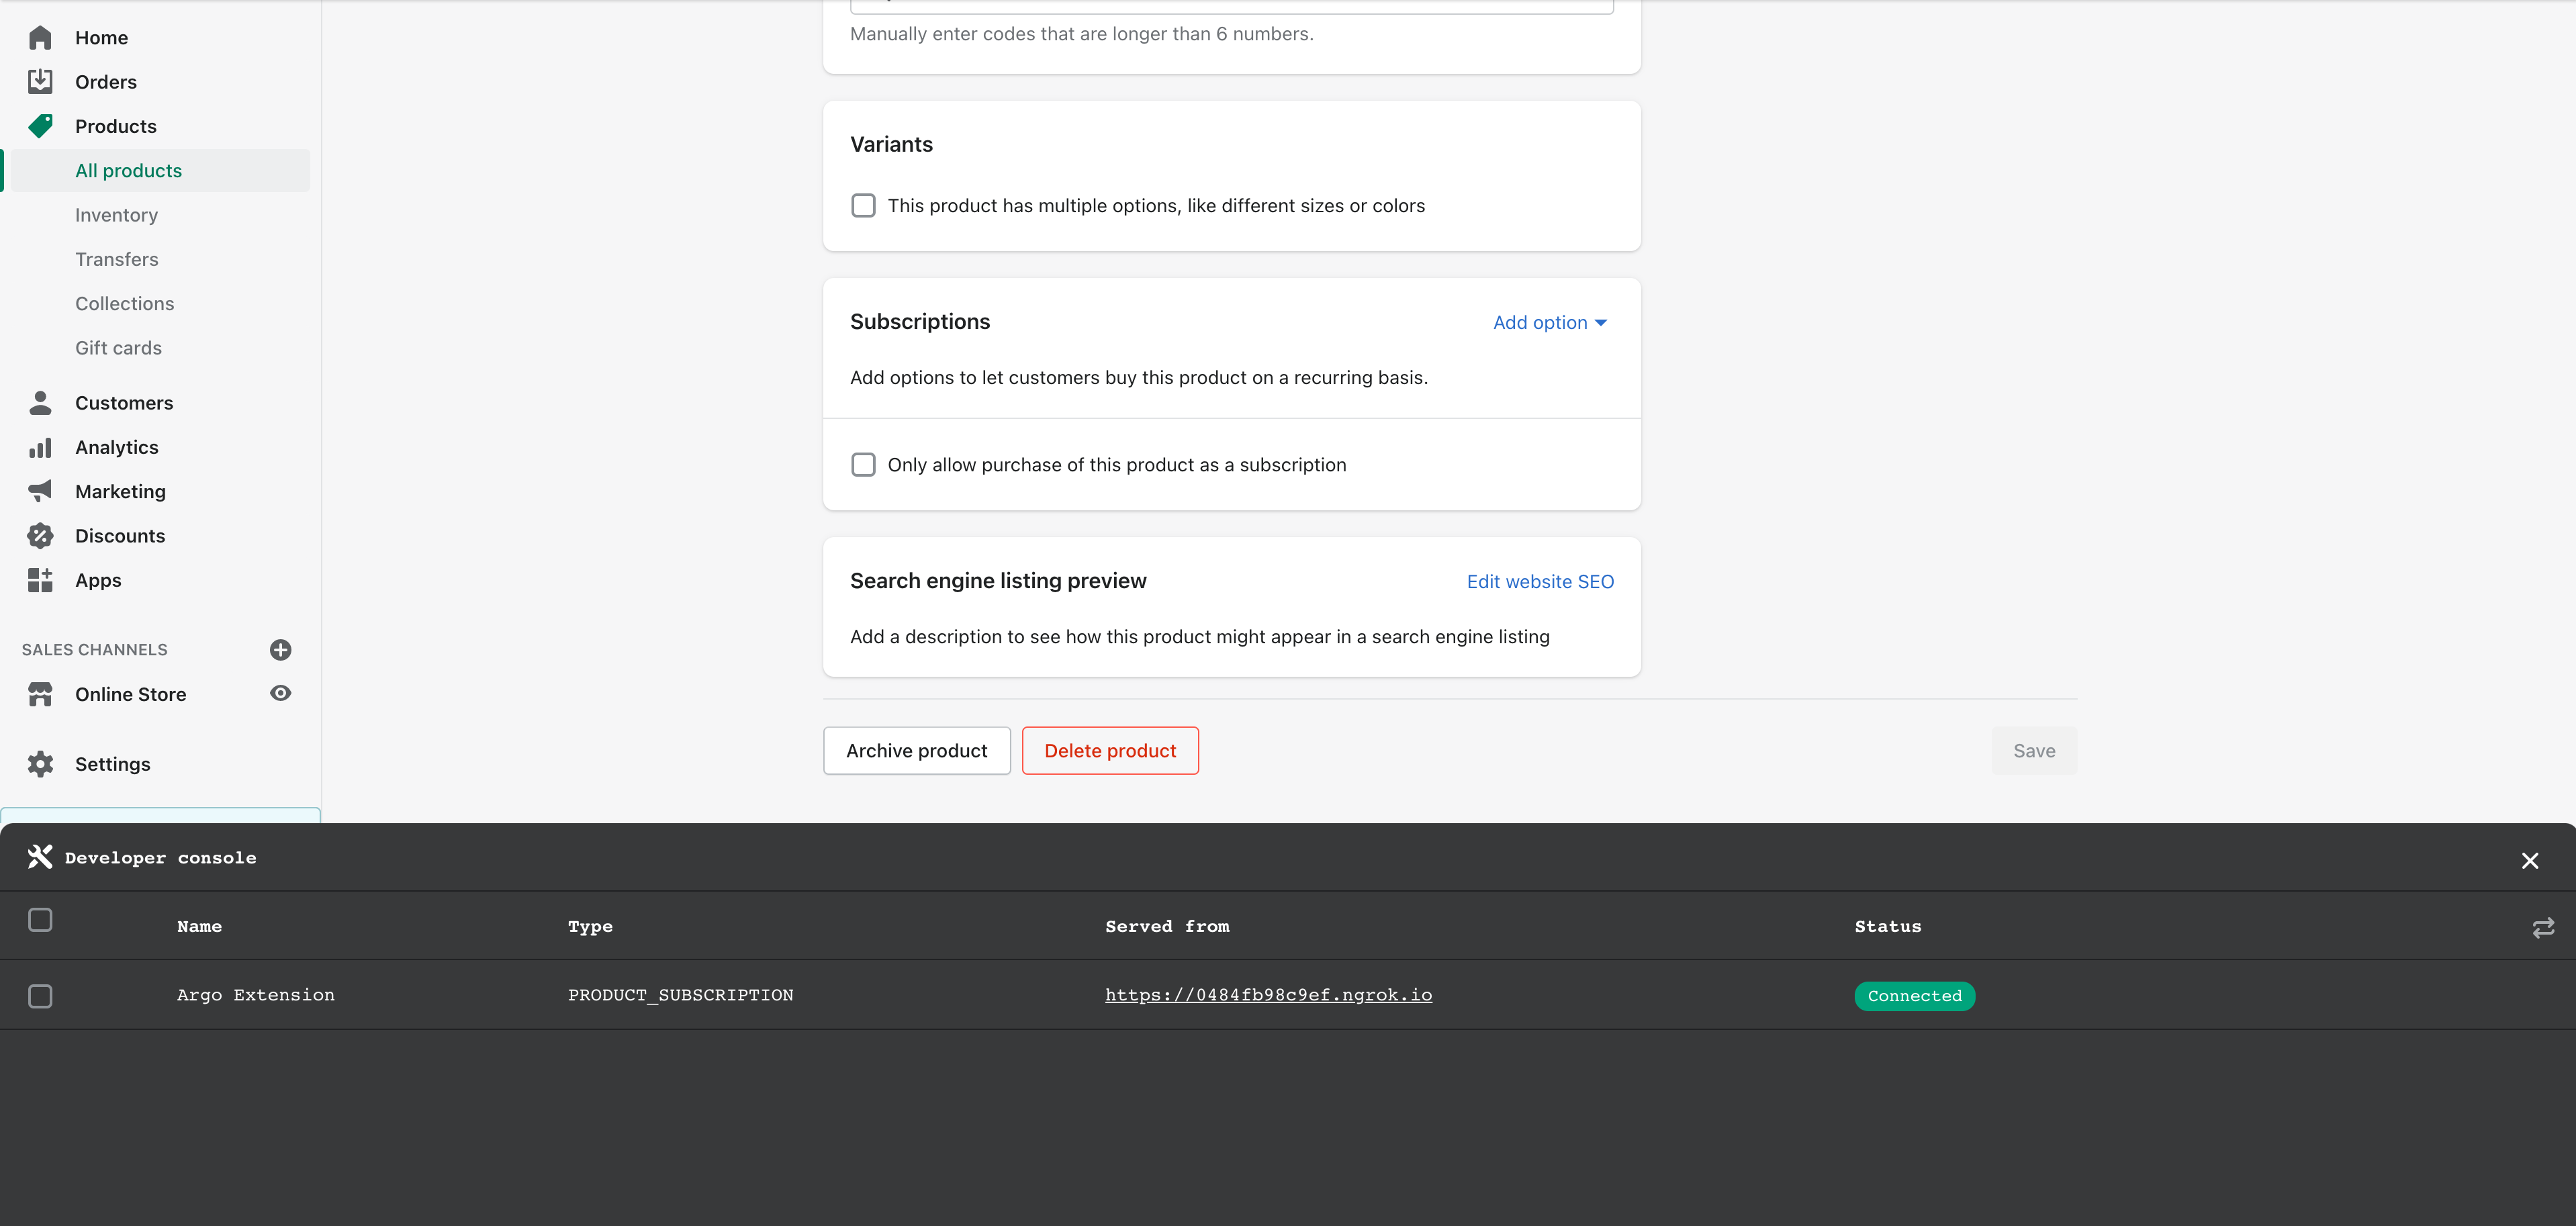
You should see the green Connected status badge and other data related to your extension.

You should also see a Subscriptions card on the product page. You might need to scroll down to see it.
-
Update the extension script at either
./index.ts(x)or./index.jsand test it in your dev store.For information on rendering extension points, refer to Create and manage a product subscription app extension.
TipThe Developer console automatically reloads the extension after you've saved the changes to your script.
Tip:The Developer console automatically reloads the extension after you've saved the changes to your script.
Anchor to Step 4: Test your extension in the Shopify mobile appStep 4: Test your extension in the Shopify mobile app
You can test your extension in the Shopify mobile app using the Developer console.
-
Log in to your dev store on the Shopify mobile app.
-
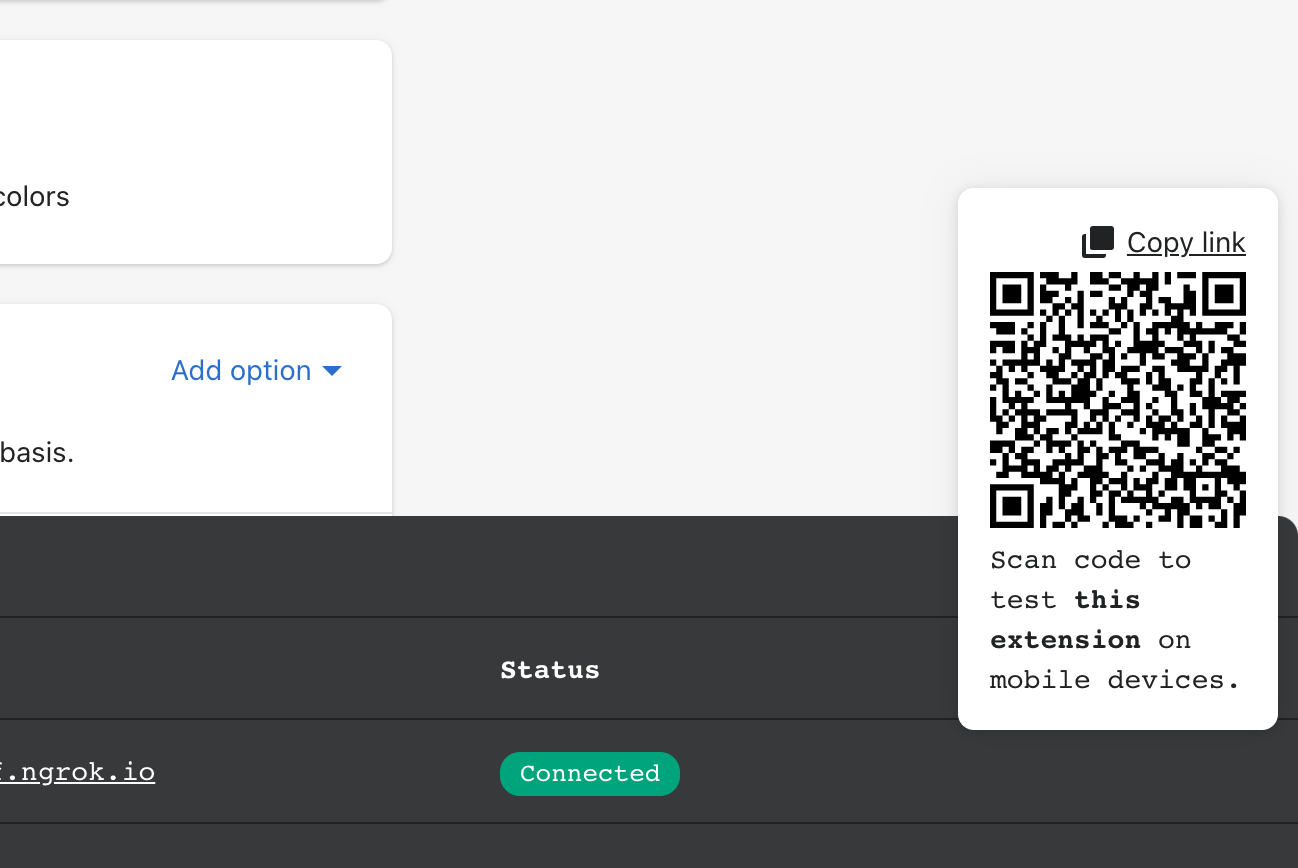
Click Developer Console, then click on the mobile icon to generate a QR code.
-
Use the camera on your mobile device or a QR code scanning app of your choice to scan the QR.
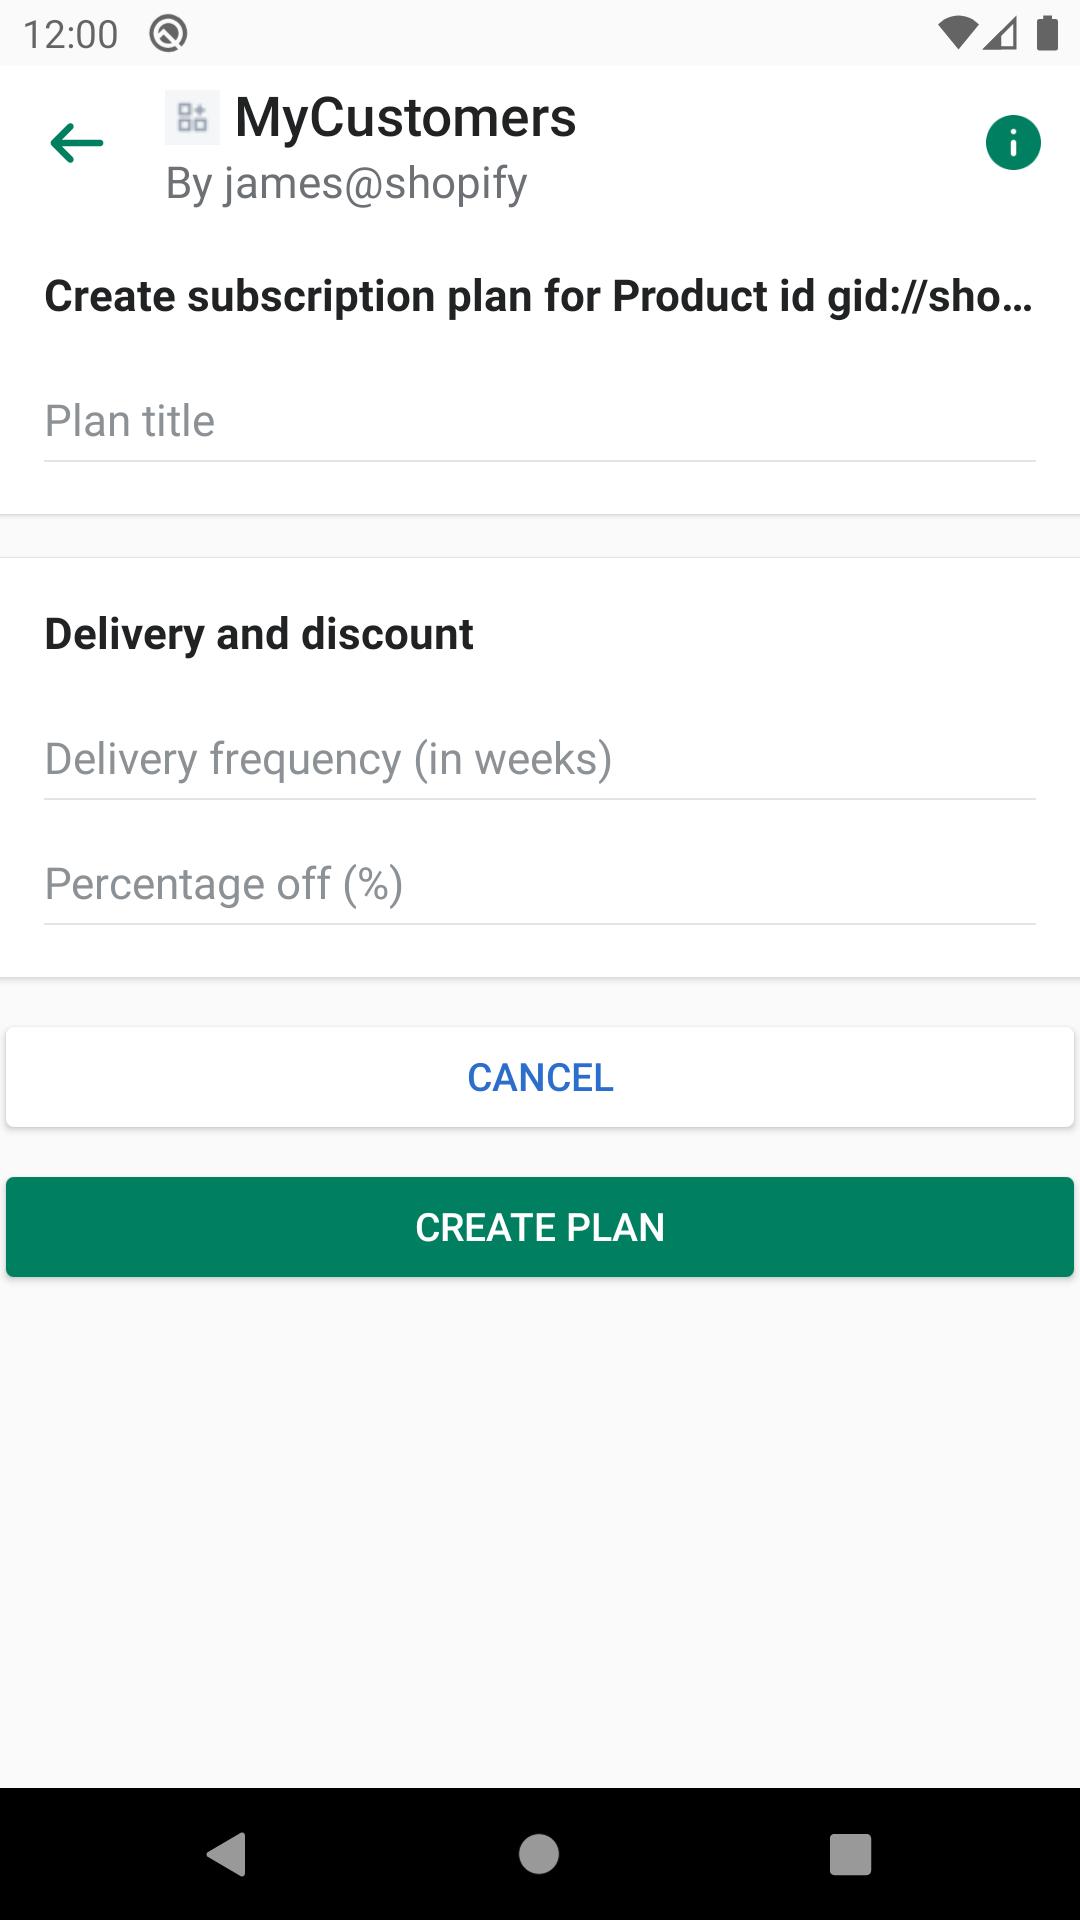
The Shopify mobile app opens the product details view, and your extension is available in the Subscriptions card.
Anchor to Next stepsNext steps
- Learn about extension points.