Update color settings
Checkout styling customizations are available only to Shopify Plus merchants.
Checkout styling customizations are available only to Shopify Plus merchants.
This guide demonstrates how to design a color system that reflects your brand by using the GraphQL Admin API's checkout branding types and their associated fields.
You'll learn some sample customizations, but you can use what you've learned to make other color customizations.
You can reset styles to their defaults by writing parent fields to null
with the GraphQL Admin API. Refer to examples of resetting
some
and
all
values to the defaults.
Anchor to RequirementsRequirements
- You've created a new development store with the Shopify Plus plan enabled to be able to customize advanced branding.
- You can make authenticated requests to the GraphQL Admin API.
- You've either installed the GraphiQL app on your store or created an app, with the
read_checkout_branding_settingsandwrite_checkout_branding_settingsaccess scopes. - You're using API version
2023-10or higher. - You're familiar with the GraphQL Admin API's branding types.
Anchor to Step 1: Retrieve the store's published checkout profile IDStep 1: Retrieve the store's published checkout profile ID
Checkout styling properties apply to a checkout profile ID. In this step, you'll retrieve the checkout profile to which you'll apply color changes.
-
Query
checkoutProfilesto retrieve a list of checkout profile IDs.The
is_publishedparameter indicates which checkout profile is currently applied to your store's live checkout.
POST https://{shop}.myshopify.com/api/{api_version}/graphql.json
GraphQL query
JSON response
- Make note of your corresponding ID from the list. You'll supply the ID in subsequent mutations.
Anchor to Step 2: Configure global colorsStep 2: Configure global colors
The GraphQL Admin API's CheckoutBrandingColorGlobalInput enables you to quickly update the global colors to match your brand.
In a subsequent step, you'll also learn how to make granular color changes.
The following code changes the global brand and accent colors to match a shop's visual identity:
POST https://{shop}.myshopify.com/api/{api_version}/graphql.json
GraphQL mutation
Query variables
JSON response
Anchor to Step 3: Configure color schemesStep 3: Configure color schemes
Configuring color schemes gives you a lot of flexibility when the default colors specified in step 1 need to change for a particular context like drawing attention to different checkout sections, or emphasizing content in a particular location. You can apply color schemes to different parts of the UI in step 3.
Color schemes are made up of color groups, and all components utilize values specified within these groups. This means that all UI extensions also use these values and automatically inherit your colors.
Some color groups have nested groups to configure state colors, such as a hover state of the primary button, or a selected state of the choice list component.
Some color groups have nested groups to configure state colors, such as a hover state of the primary button, or a selected state of the choice list component.
Every color group has the same set of overridable values. Refer to an example.
We automatically derive extra colors from these, for example, text subdued is generated from text.
We automatically derive extra colors from these, for example, text subdued is generated from text.
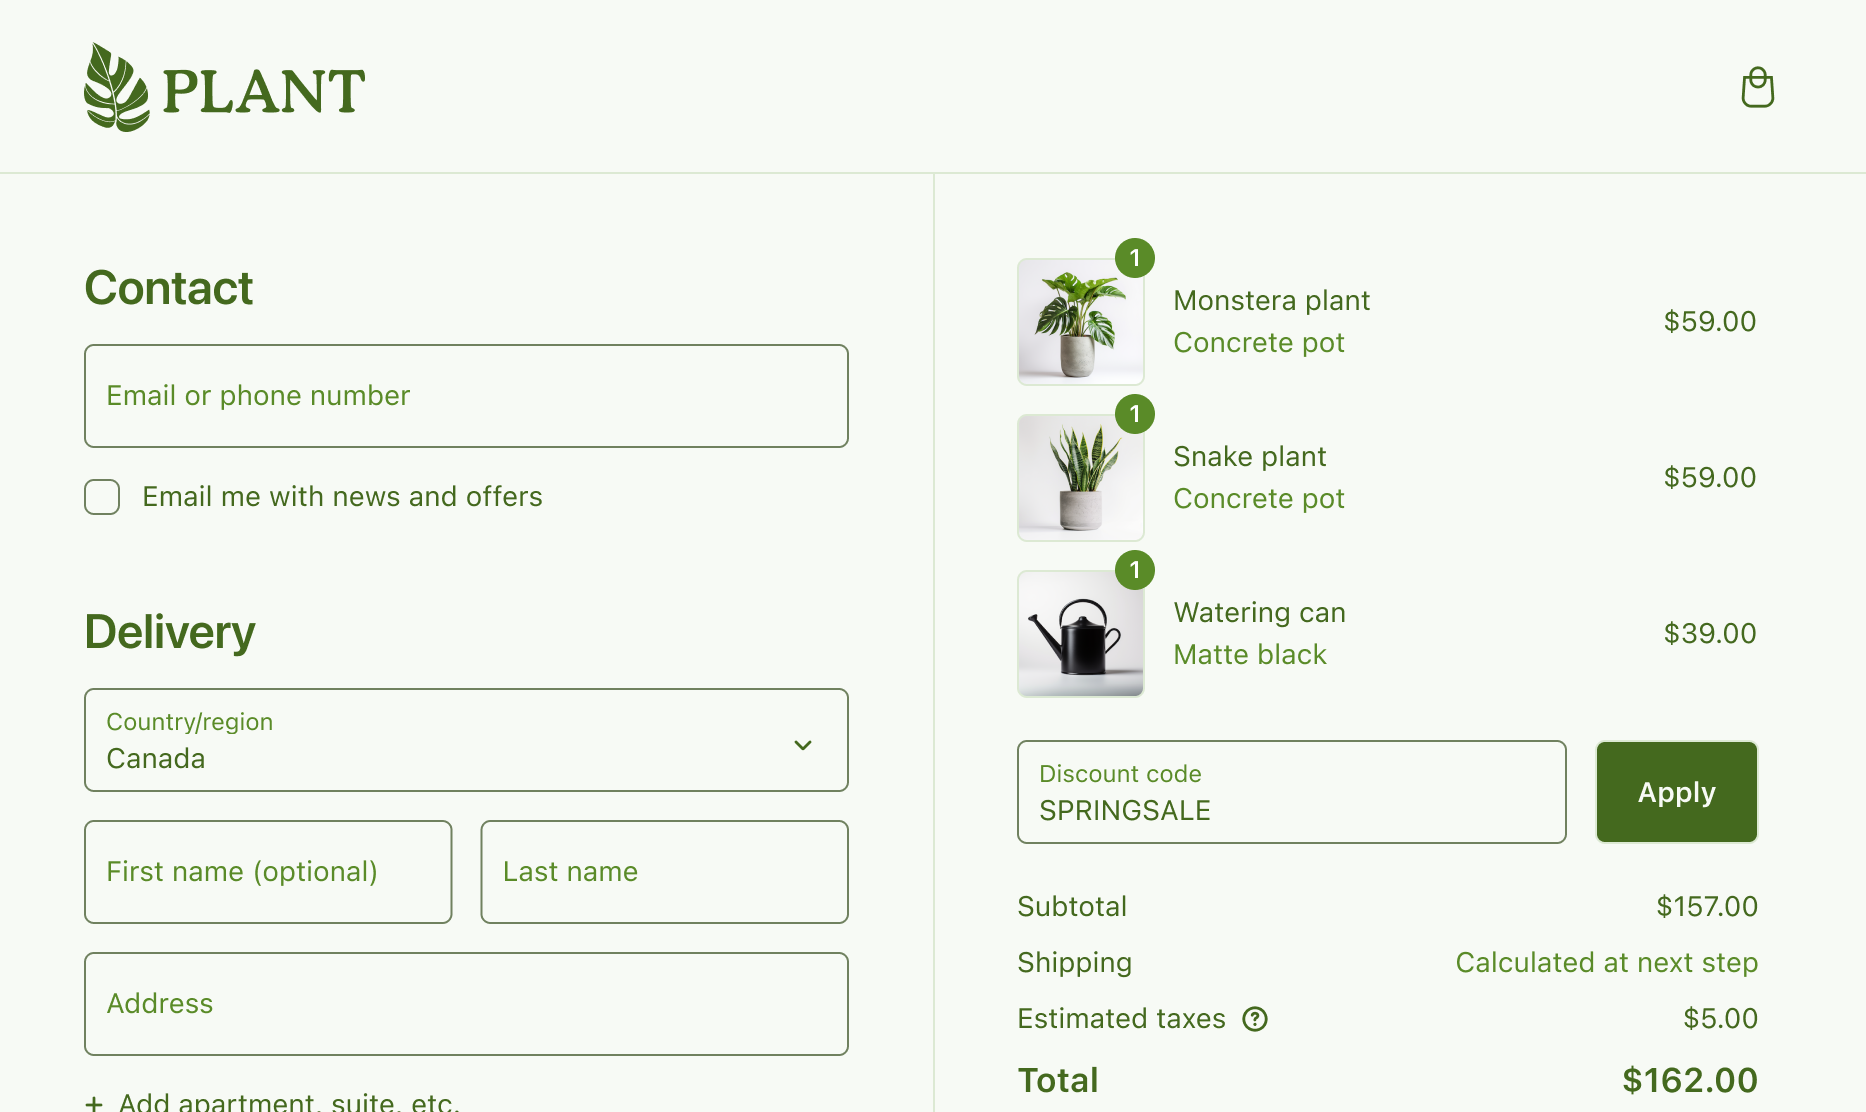
The following code applies shades of green to scheme1 that match the store's visual identity. The code sets a light green background, text that matches the logo, darker border controls, a dark selected state and makes the primary button hover state more prominent.
POST https://{shop}.myshopify.com/api/{api_version}/graphql.json
GraphQL mutation
Query variables
JSON response
Anchor to Step 4: Apply color schemesStep 4: Apply color schemes
Configuring color schemes to apply to different parts of the UI overrides the default color schemes.
Scheme applications are customizable. The following code changes the default scheme structure so that scheme1 can be applied to the order summary.
POST https://{shop}.myshopify.com/api/{api_version}/graphql.json
GraphQL mutation
Query variables
JSON response
Anchor to Next stepsNext steps
- Explore the GraphQL Admin API to learn more about customizing checkout's colors.