Create multi-page extensions
In this tutorial, you'll learn how a UI extension can target checkout, the Thank you page, the Order status page, or all of the above, to create a seamless experience for merchants and their customers.
Anchor to What you'll learnWhat you'll learn
In this tutorial, you'll learn how to create a checkout UI extension that can render in checkout, the Thank you page, the Order status page, or all three areas.
Anchor to RequirementsRequirements
- You're familiar with Thank you and Order status page checkout UI extensions.
-
You're a user with app development permissions.
-
You've created a new development store with test data generated by Shopify.
-
You've created an app that uses Shopify CLI 3.85.1 or higher.
Anchor to How it worksHow it works
You can use a checkout UI extension to add custom content across multiple pages of checkout.
Depending on the page and state of Shopify’s internal order processing, the targets and APIs available to extensions can vary.
A multi-page extension can be used to add custom content such as final sale details, upsells, surveys and more. The following examples demonstrate how to use targets to target different parts of the flow, depending on your use case.
Anchor to Pre-purchasePre-purchase
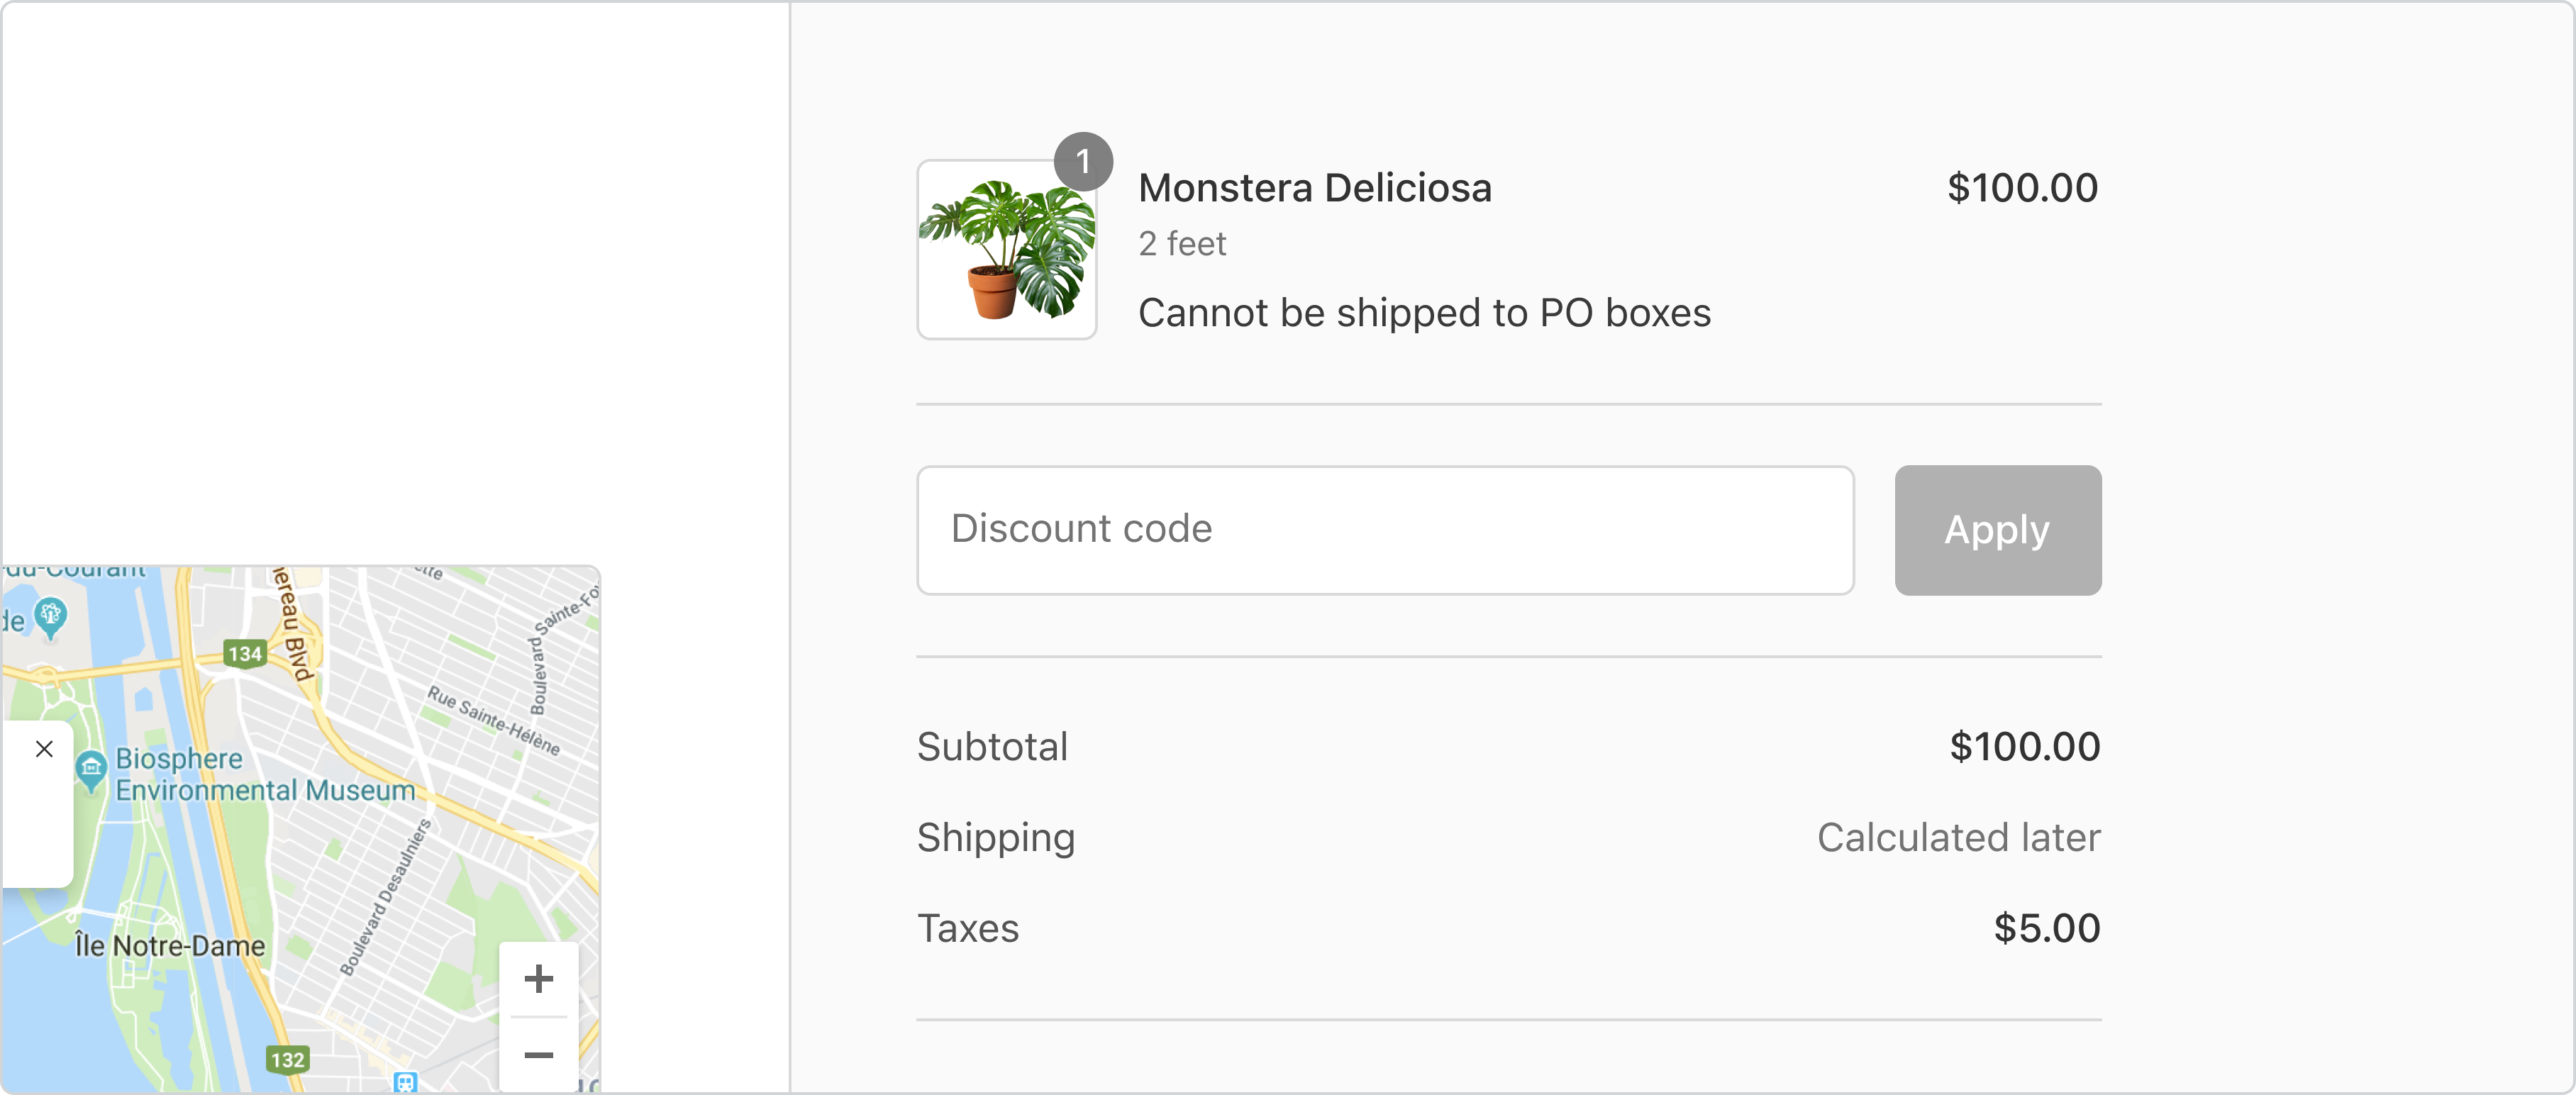
You can configure a UI extension to display before a purchase is completed by using the purchase.checkout.cart-line-item.render-after target. This means that merchants can place the extension on the information, payment and shipping steps of checkout (pre-purchase).
shopify.extension.toml
Anchor to Post-purchasePost-purchase
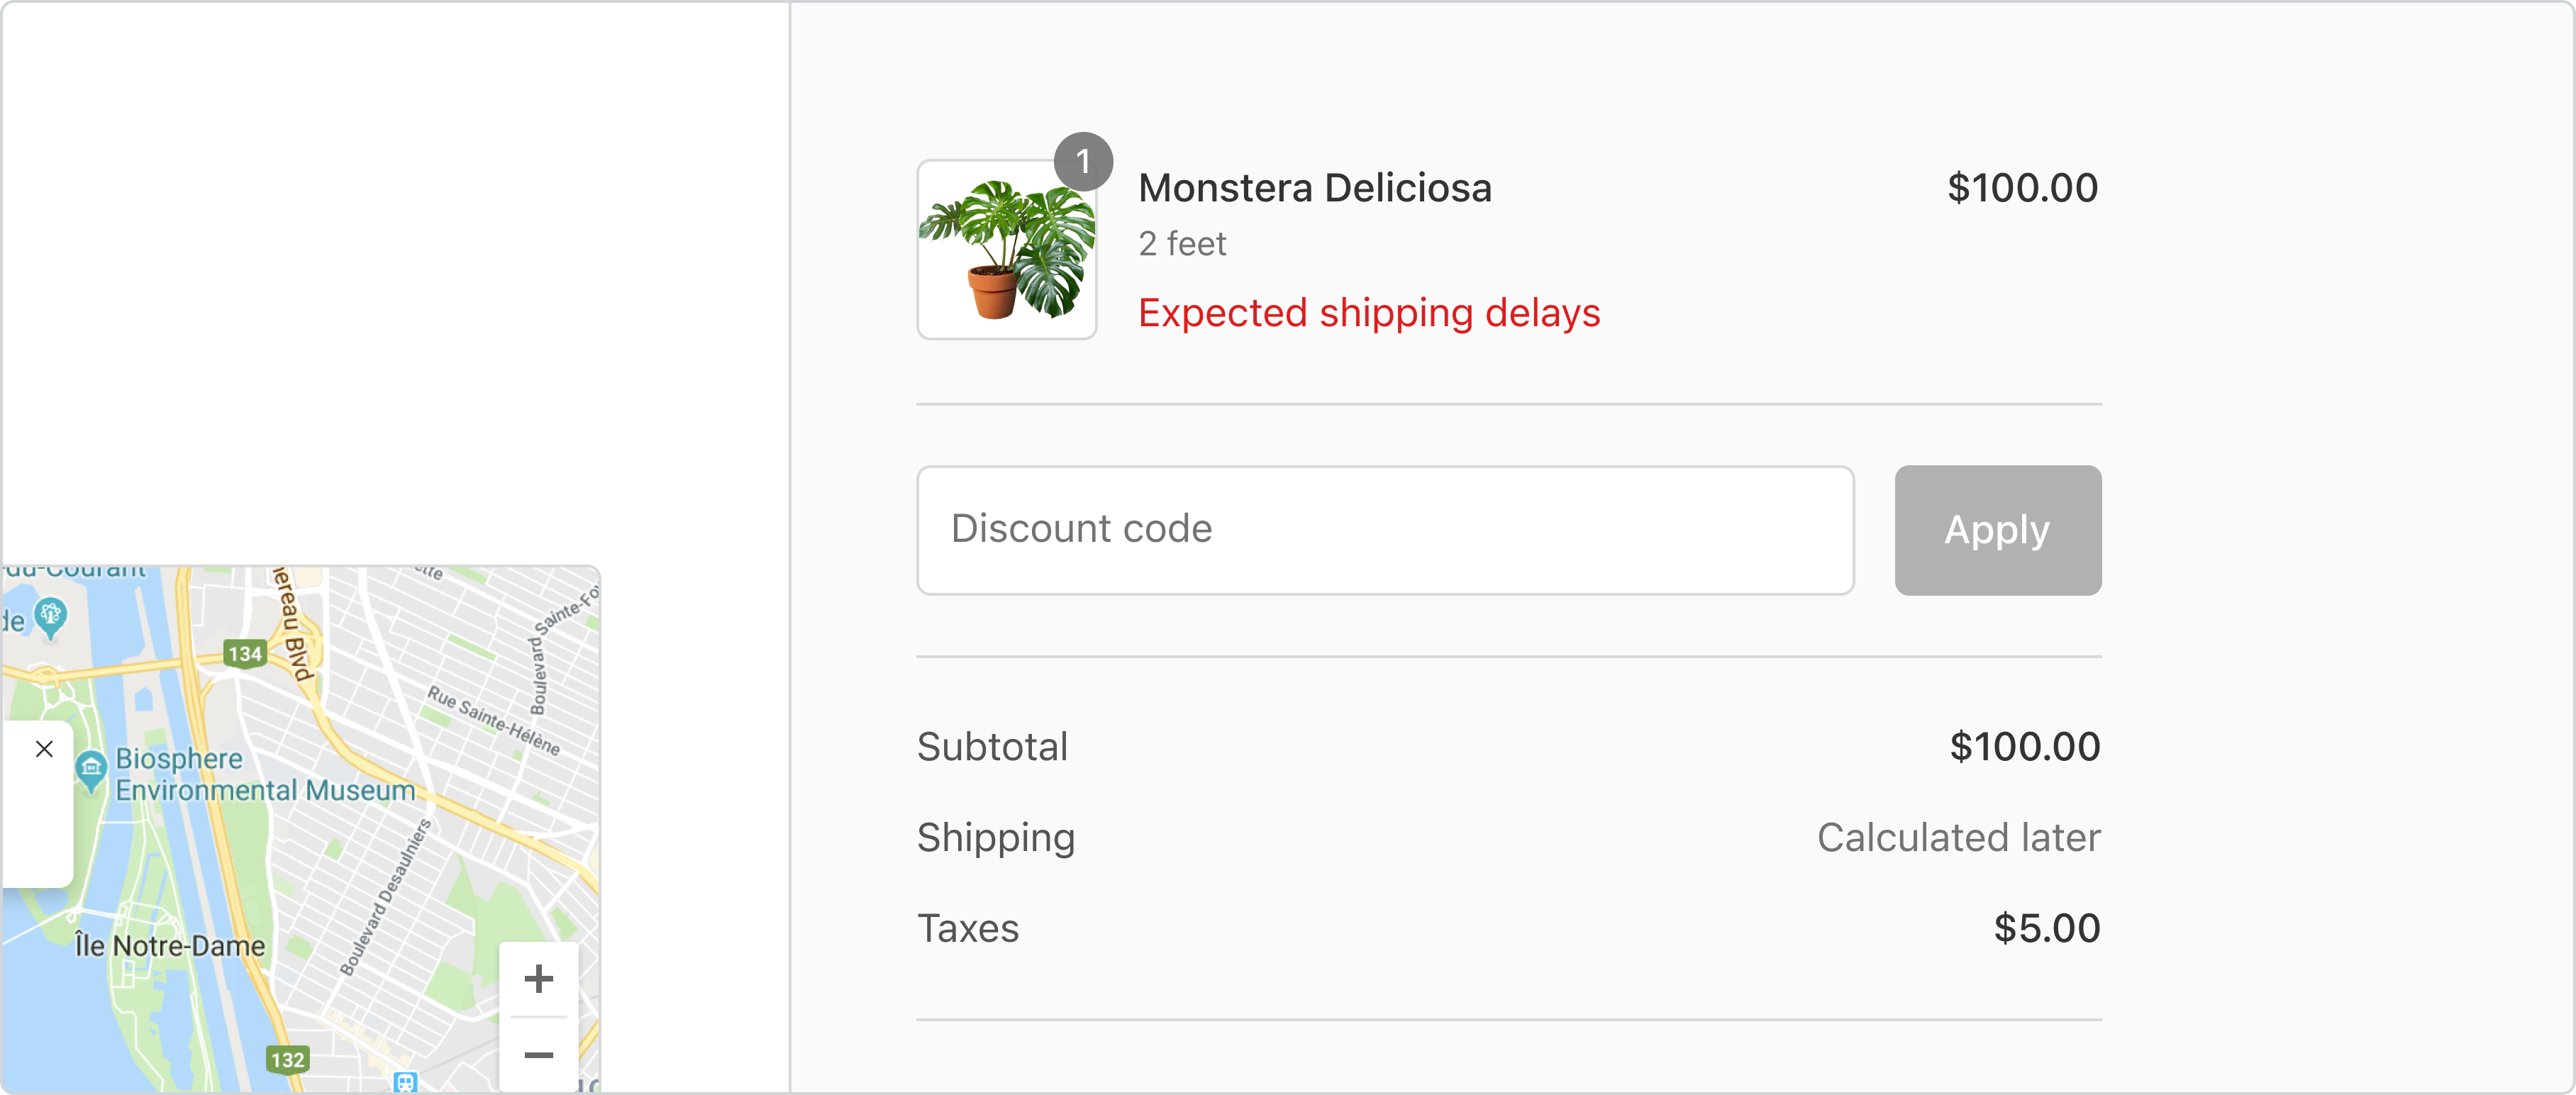
You can configure an extension to display after a purchase is completed by using both the purchase.thank-you.cart-line-item.render-after and customer-account.order-status.cart-line-item.render-after targets. This means that merchants can place the extension on the Thank you and Order status pages (post-purchase).
shopify.extension.toml
Anchor to Pre and post purchasePre and post purchase
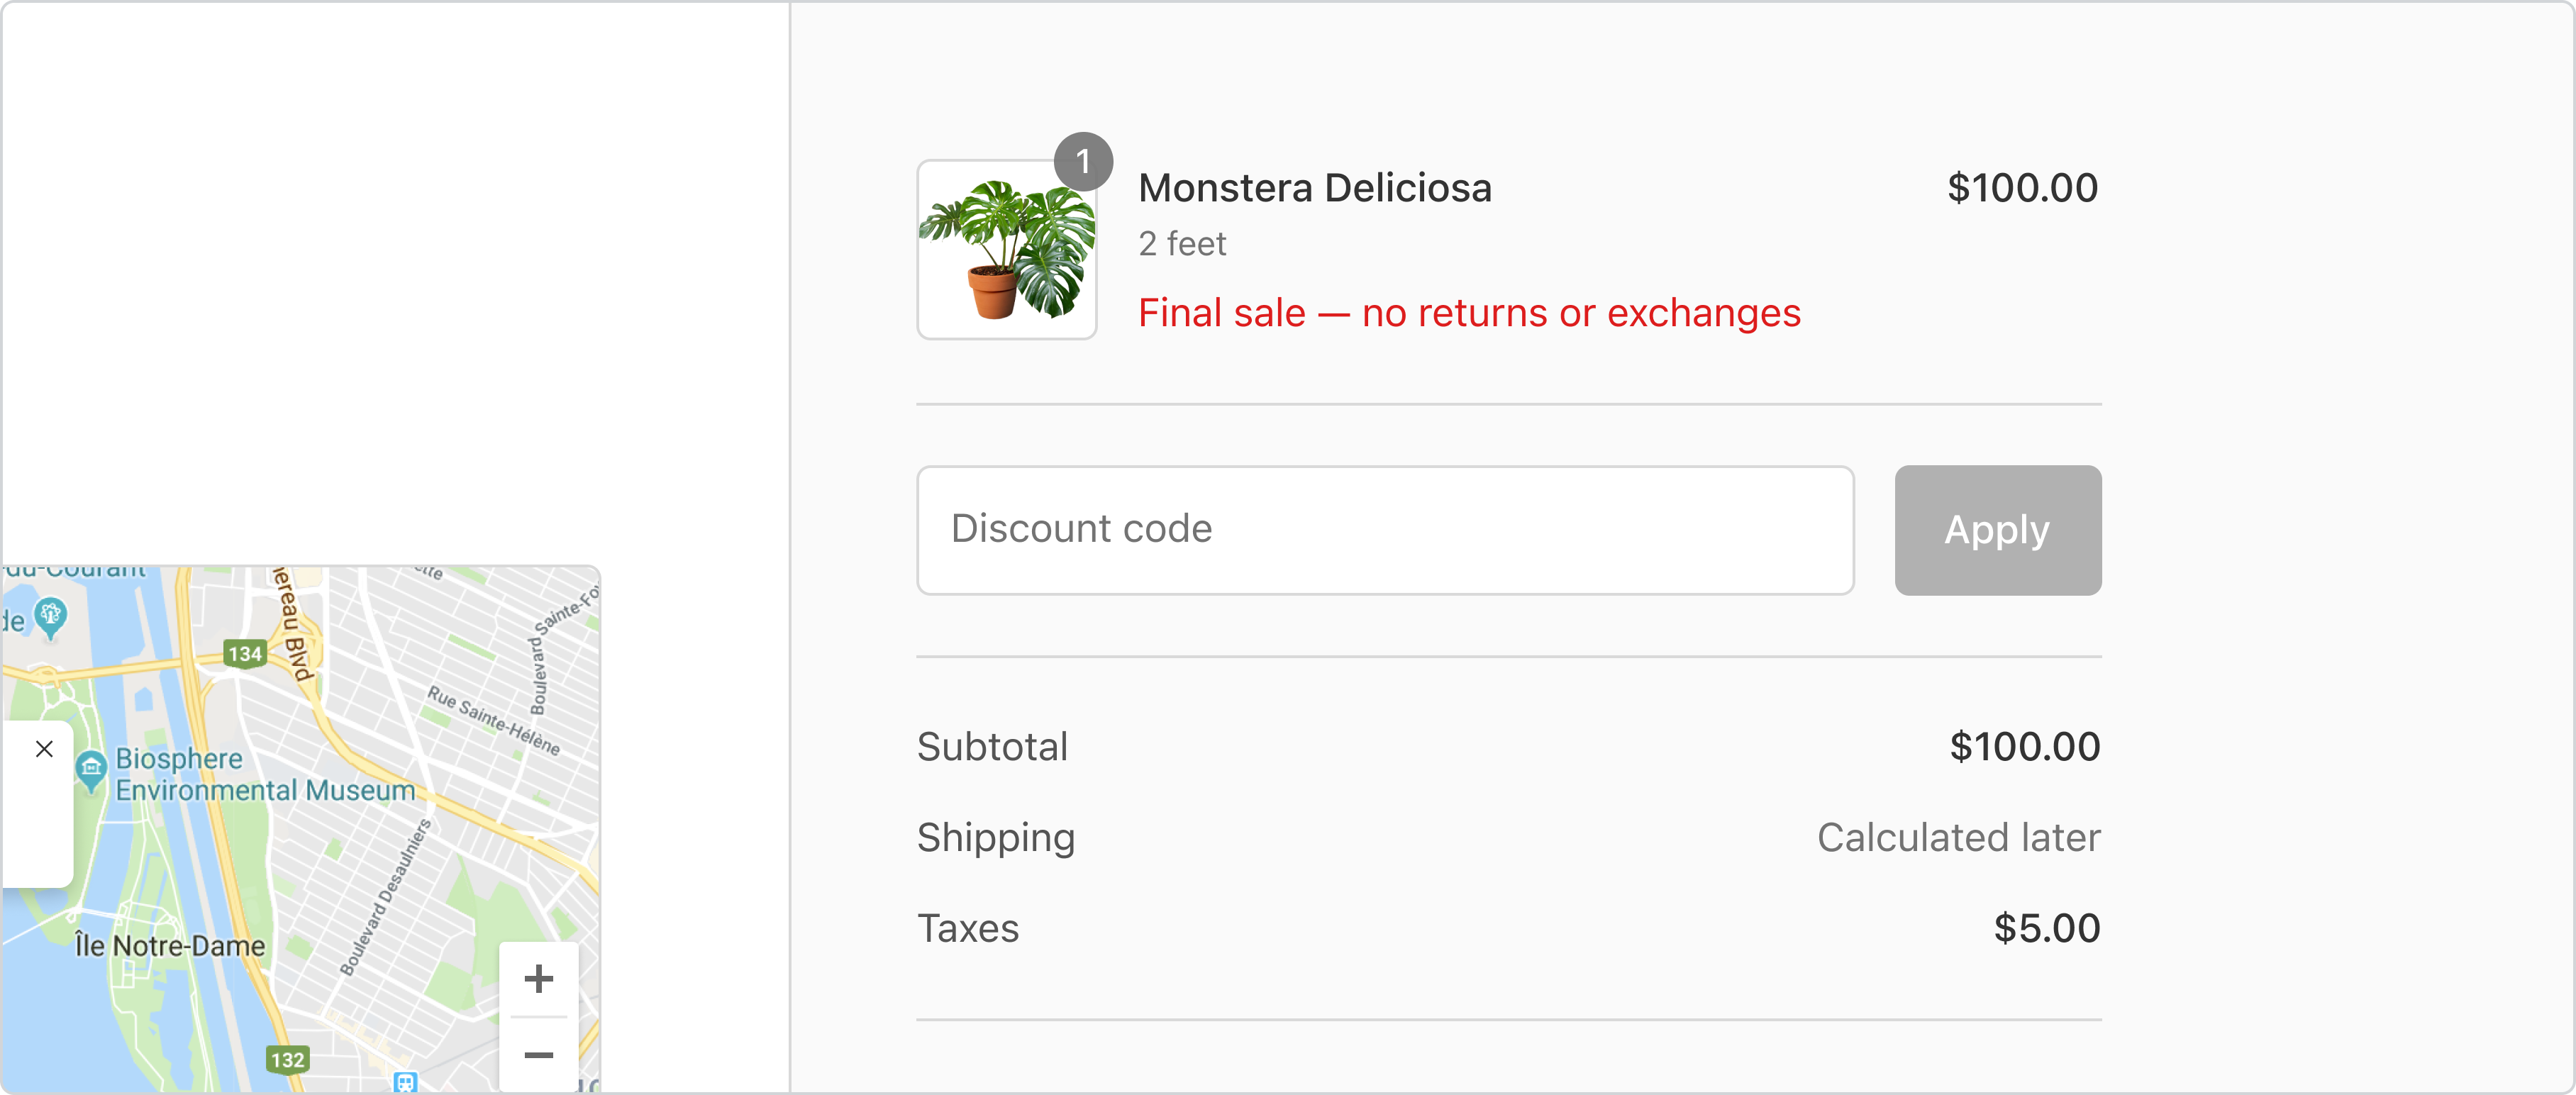
You can configure an extension to display on all areas of the checkout by combining the purchase.checkout.cart-line-item.render-after, purchase.thank-you.cart-line-item.render-after and customer-account.order-status.cart-line-item.render-after targets.
shopify.extension.toml
Anchor to Testing the extension in the checkout editorTesting the extension in the checkout editor
- Follow the guide to test an extension in the editor
- Use the dropdown list at the top of the page to navigate to the Thank you and Order status pages.
In a future release, we'll improve the extension installation in the editor to enable merchants to add an extension to multiple pages at once and share configuration between each placements.
In a future release, we'll improve the extension installation in the editor to enable merchants to add an extension to multiple pages at once and share configuration between each placements.