UX for fields
Checkout UI extensions that render on the information and shipping and payment steps in checkout are available only to stores on a Shopify Plus plan.
Checkout UI extensions that render on the information and shipping and payment steps in checkout are available only to stores on a Shopify Plus plan.
This guide introduces UX guidelines for adding custom fields to checkout.
Anchor to PlacementPlacement
A static target lets you define the placement for the extension. Depending on your use case, you might also define multiple static targets to place your extension. For example, you might want to give the option to place the delivery instructions extension either before or after the shipping methods section.
shopify.extension.toml
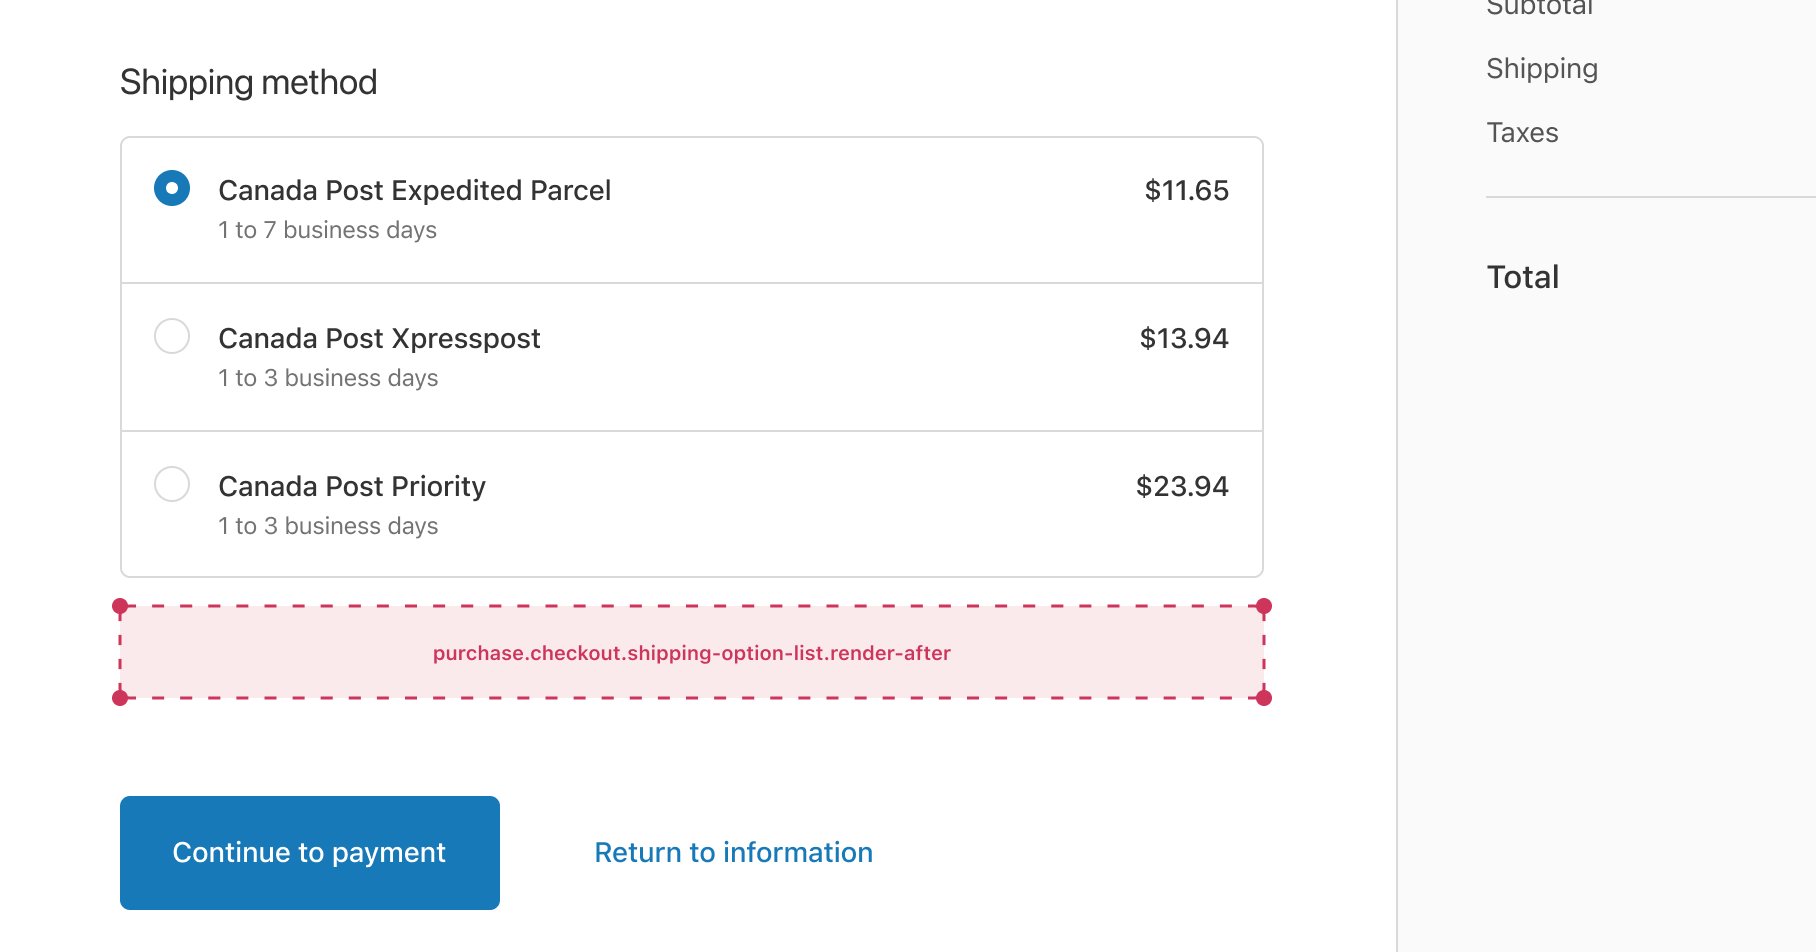
Place the delivery instructions extension in close proximity to the checkout step that it's related to. In this case, the static targets purchase.checkout.shipping-option-list.render-before or purchase.checkout.shipping-option-list.render-after are the best locations for this extension type because it concerns delivery instructions.
In some cases, extensions might not render if the static target being used is tied to an area that isn't rendered for the customer. For example, extensions using the purchase.checkout.shipping-option-list.render-after target won't show in a checkout with only digital products, because they won't be shipped.
In some cases, extensions might not render if the static target being used is tied to an area that isn't rendered for the customer. For example, extensions using the purchase.checkout.shipping-option-list.render-after target won't show in a checkout with only digital products, because they won't be shipped.
Anchor to ComponentsComponents
The components to create a custom field to capture delivery instructions depend on the extension's possible states.
The delivery instructions use case can have the following states:
- Checkbox is unchecked
- Checkbox checked, text area then becomes visible
- Text area with value
| Component | Preview | Tips |
|---|---|---|
Checkbox |  | N/A |
Text area | 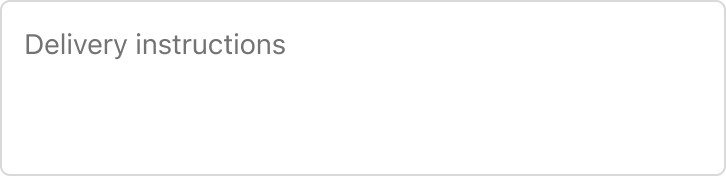 | Only show this component when the customer has expressed interest in adding delivery instructions. |
Anchor to LayoutLayout
You can stack the checkbox and text area components in the stack component.
| Component | Preview |
|---|---|
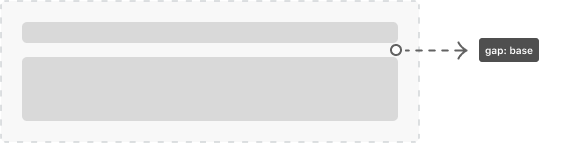
Stack | 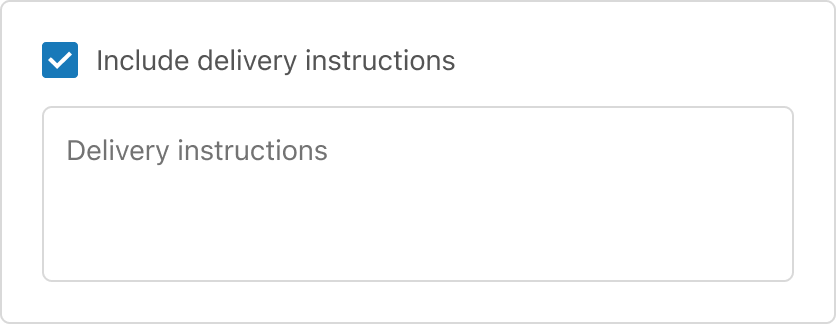 |
Anchor to StackStack
In the following example, base is the spacing value between the checkbox and text area components. It prevents the extension from being too cramped or too spacious.
Anchor to UX guidelinesUX guidelines
Adhere to the following guidelines when you're designing a delivery instructions use case for checkout UI extensions, so that you can help merchants gain customer trust and provide a great checkout experience:
Anchor to Reveal information progressively and strategicallyReveal information progressively and strategically
Display a simplified state of the extension by default. In the following example, the customer can choose to add delivery instructions to an order. If the customer chooses to add delivery instructions, then the text area component is displayed. It doesn't display otherwise.

Anchor to Capture and remember customer inputsCapture and remember customer inputs
Preserve inputs through the experience. For example, if the customer writes their delivery instructions in the text area component, then unchecks the checkbox component and checks it again, the instructions should still display rather than having the customer type them again.
Anchor to Next stepsNext steps
- Explore UX guidelines for the entire checkout experience.
- For practical guidance on how to design a user interface for the Shopify admin, refer to Shopify's App Design Guidelines.
- Get familiar with Polaris accessibility and content guidelines.