Authenticate your agent
The quickstart runs this same flow with the UCP CLI and Shopify AI Toolkit in about five minutes, and is the recommended way to get started. Follow this six-part series if you want to walk the protocol end-to-end against Shopify's MCP servers, integrate into an existing HTTP client, or build without the toolkit.
The quickstart runs this same flow with the UCP CLI and Shopify AI Toolkit in about five minutes, and is the recommended way to get started. Follow this six-part series if you want to walk the protocol end-to-end against Shopify's MCP servers, integrate into an existing HTTP client, or build without the toolkit.
This guide is the first part of a six-part tutorial series that describes how to build an agentic commerce application with the Universal Commerce Protocol (UCP) using Shopify's MCP servers. It demonstrates how to generate API credentials and write an authentication module that fetches bearer tokens at runtime.
By the end of the series, you'll have a working demo that defines an agent profile, searches the Shopify Catalog, walks a buyer through selecting a product variant, builds a cart, and refers them to a merchant storefront to finish checkout.
This series of tutorials defines a set of scripts that take you from authentication through to checkout. Using JavaScript is not required, and it's only used here to give you something tangible to learn with. Example scripts also display raw MCP inputs and responses alongside them, so be sure to leverage what you need for your own project.
This series of tutorials defines a set of scripts that take you from authentication through to checkout. Using JavaScript is not required, and it's only used here to give you something tangible to learn with. Example scripts also display raw MCP inputs and responses alongside them, so be sure to leverage what you need for your own project.
Anchor to What you'll learnWhat you'll learn
In this tutorial, you'll learn:
- How to define and retrieve API keys
- To set up a helper function to reauthenticate requests
Anchor to RequirementsRequirements
- Access to Shopify's Dev Dashboard
- Node.js 18 or higher installed on your machine
- A supported AI tool: Claude Code, Codex, Antigravity CLI, Cursor, or VS Code
Anchor to Before you beginBefore you begin
Install the UCP CLI for your terminal and the Shopify AI Toolkit plugin for your AI provider. You'll use these to verify and explore the same flow you build by hand in the following steps.
Claude Code
Terminal: Install the UCP CLI
Claude Code: Enable the Shopify marketplace
Claude Code: Install the plugin
Codex
Terminal: Install the UCP CLI
Terminal: Install the Shopify plugin
Antigravity CLI
Terminal: Install the UCP CLI
Terminal: Install the Shopify plugin
Cursor
Terminal: Install the UCP CLI
Cursor Chat: Add the plugin
VS Code
Terminal: Install the UCP CLI
Command Palette > Chat: Install Plugin From Source
Terminal: Install the UCP CLI
Claude Code: Enable the Shopify marketplace
Claude Code: Install the plugin
Anchor to Step 1: Generate API credentialsStep 1: Generate API credentials
-
In Dev Dashboard click Catalogs from the sidebar.
-
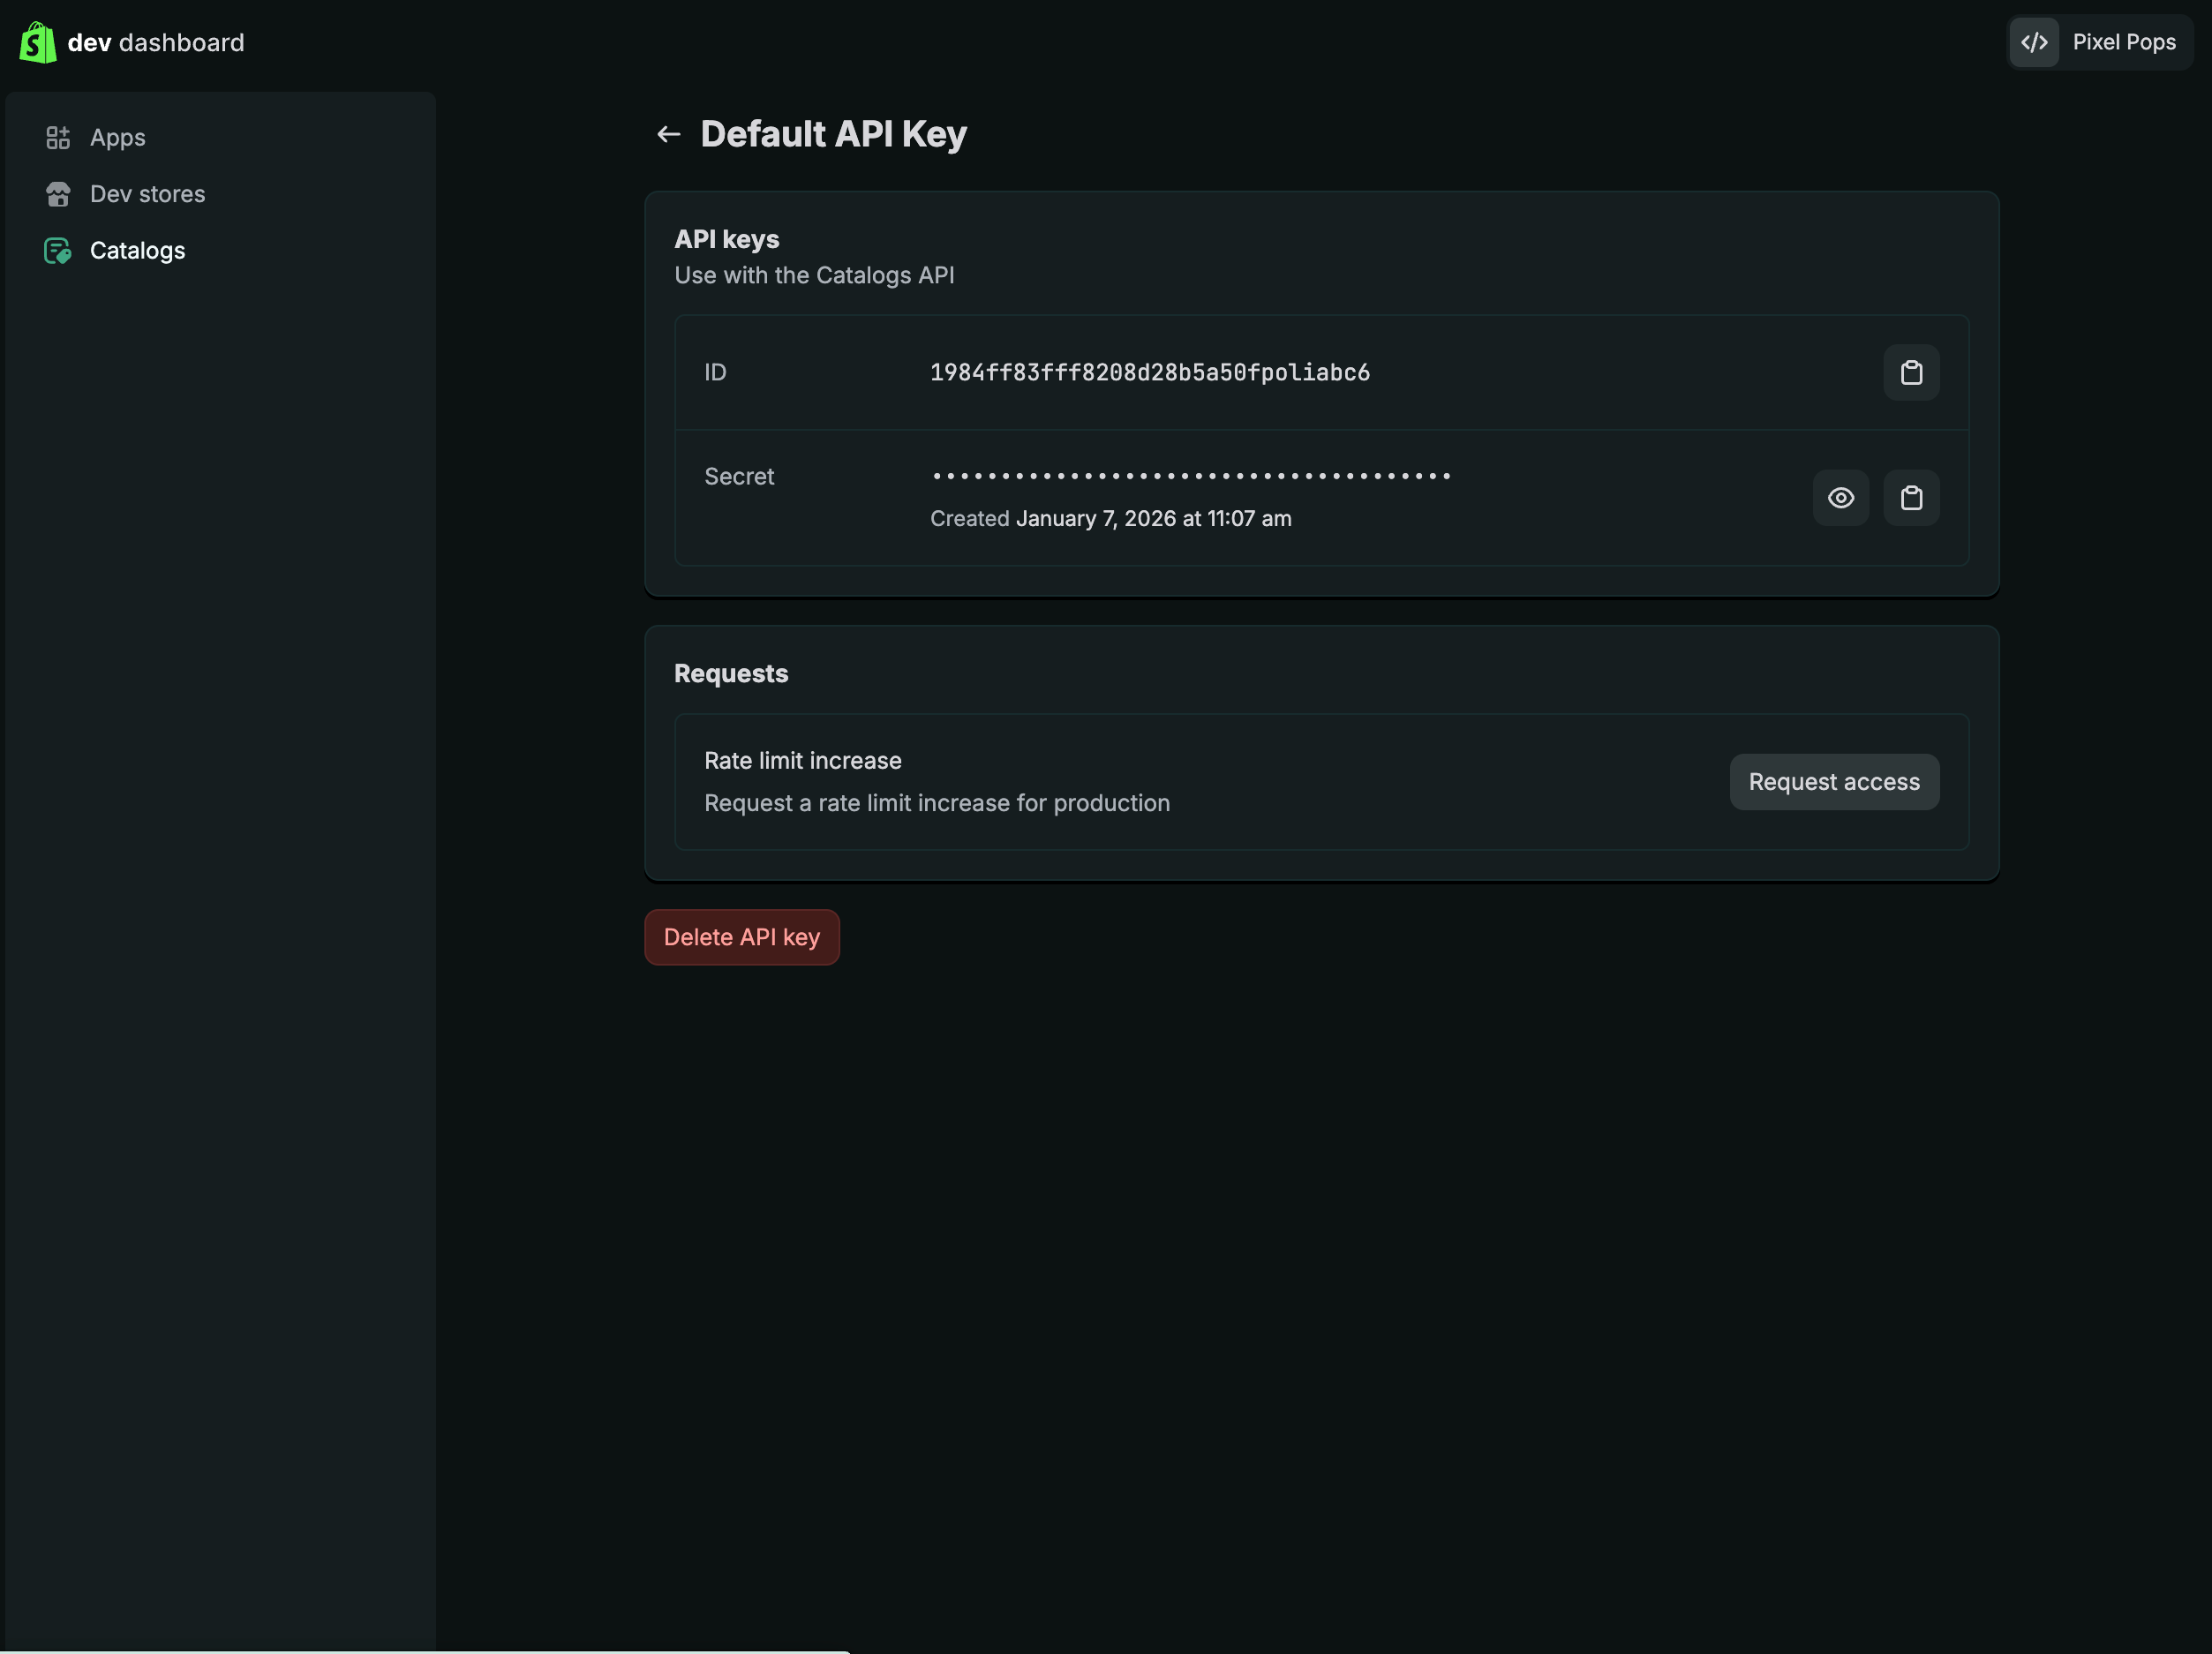
Click Get an API key. Name your key, then click Create.
-
Copy your client ID and client secret and export them to your terminal:
Terminal
export CLIENT_ID={your_client_id} && export CLIENT_SECRET={your_client_secret}
Anchor to Step 2: Set up the projectStep 2: Set up the project
Create a ucp-demo directory that you'll use throughout the tutorial.
-
Create the directory and initialize a Node.js project:
Terminal
mkdir demo && cd demonpm init -y -
Set
"type": "module"inpackage.jsonto use ES module imports, which will make setting up individual steps of the tutorial simpler:package.json
{"type": "module"}
Anchor to Step 3: Set up authenticationStep 3: Set up authentication
Create auth.js, which fetches a fresh bearer token from the token endpoint using your client credentials. The token expires after 60 minutes, so fetching it at runtime on each run ensures requests never fail due to an expired token.
auth.js
export async function getAccessToken() {
  const clientId = process.env.CLIENT_ID;
  const clientSecret = process.env.CLIENT_SECRET;
  const res = await fetch('https://api.shopify.com/auth/access_token', {
    method: 'POST',
    headers: { 'Content-Type': 'application/json' },
    body: JSON.stringify({
      client_id: clientId,
      client_secret: clientSecret,
      grant_type: 'client_credentials'
    })
  });
  const { access_token } = await res.json();
  const [, payload] = access_token.split('.');
  const { scopes, exp, limits } = JSON.parse(Buffer.from(payload, 'base64').toString('utf8'));
  console.log('\n── 1. Authentication ─────────────────────────\n');
  console.log(`  Scopes:  ${scopes}`);
  console.log(`  Expires: ${new Date(exp * 1000).toLocaleTimeString()}`);
  return access_token;
}
cURL
curl --request POST \
  --url https://api.shopify.com/auth/access_token \
  --header 'Content-Type: application/json' \
  --data '{
    "client_id": "{your_client_id}",
    "client_secret": "{your_client_secret}",
    "grant_type": "client_credentials"
  }'
{} Response
{
  "access_token": "{your_bearer_token}"
}
Anchor to Step 4: Create the main tutorial scriptStep 4: Create the main tutorial script
Create ucp_demo.js as the main entry point. You'll update this file in each tutorial to add the next step.
ucp_demo.js
Run the script to verify your credentials work:
Terminal
You should see output like:

