Shop Pay Installments
Shop Pay Installments allows customers to pay for orders between 50 USD and 3,000 USD in 4 interest-free installments.
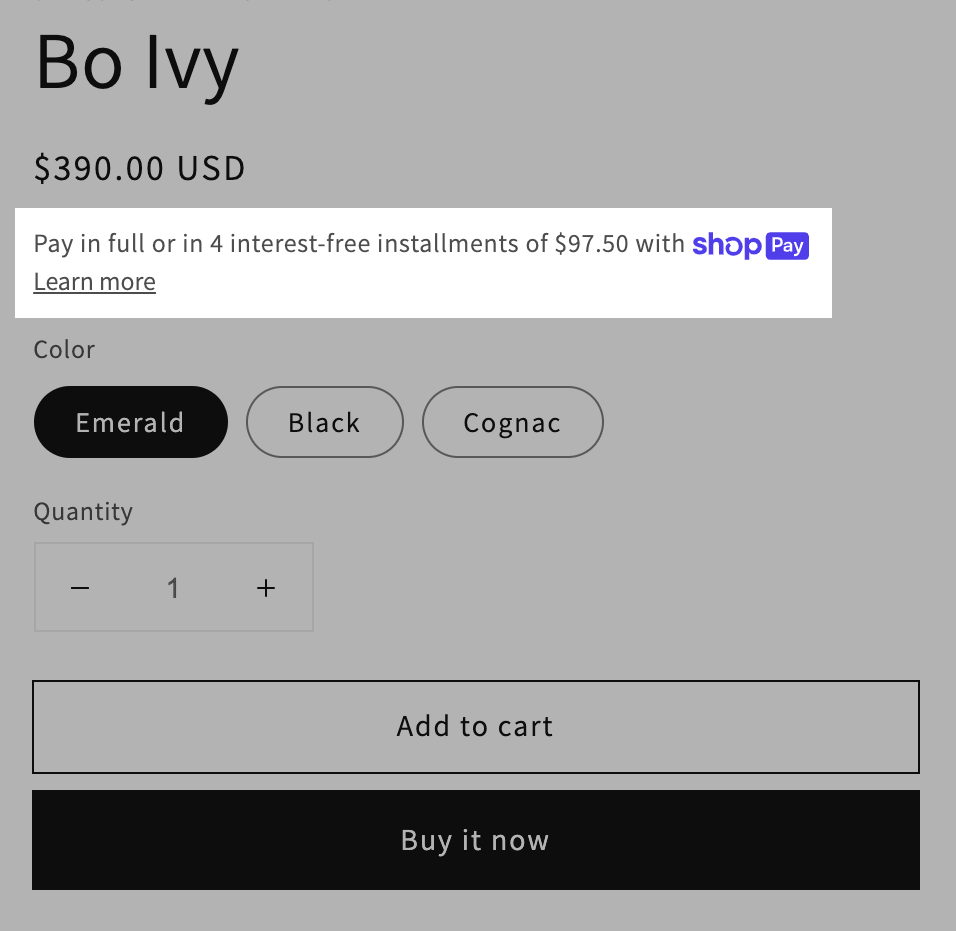
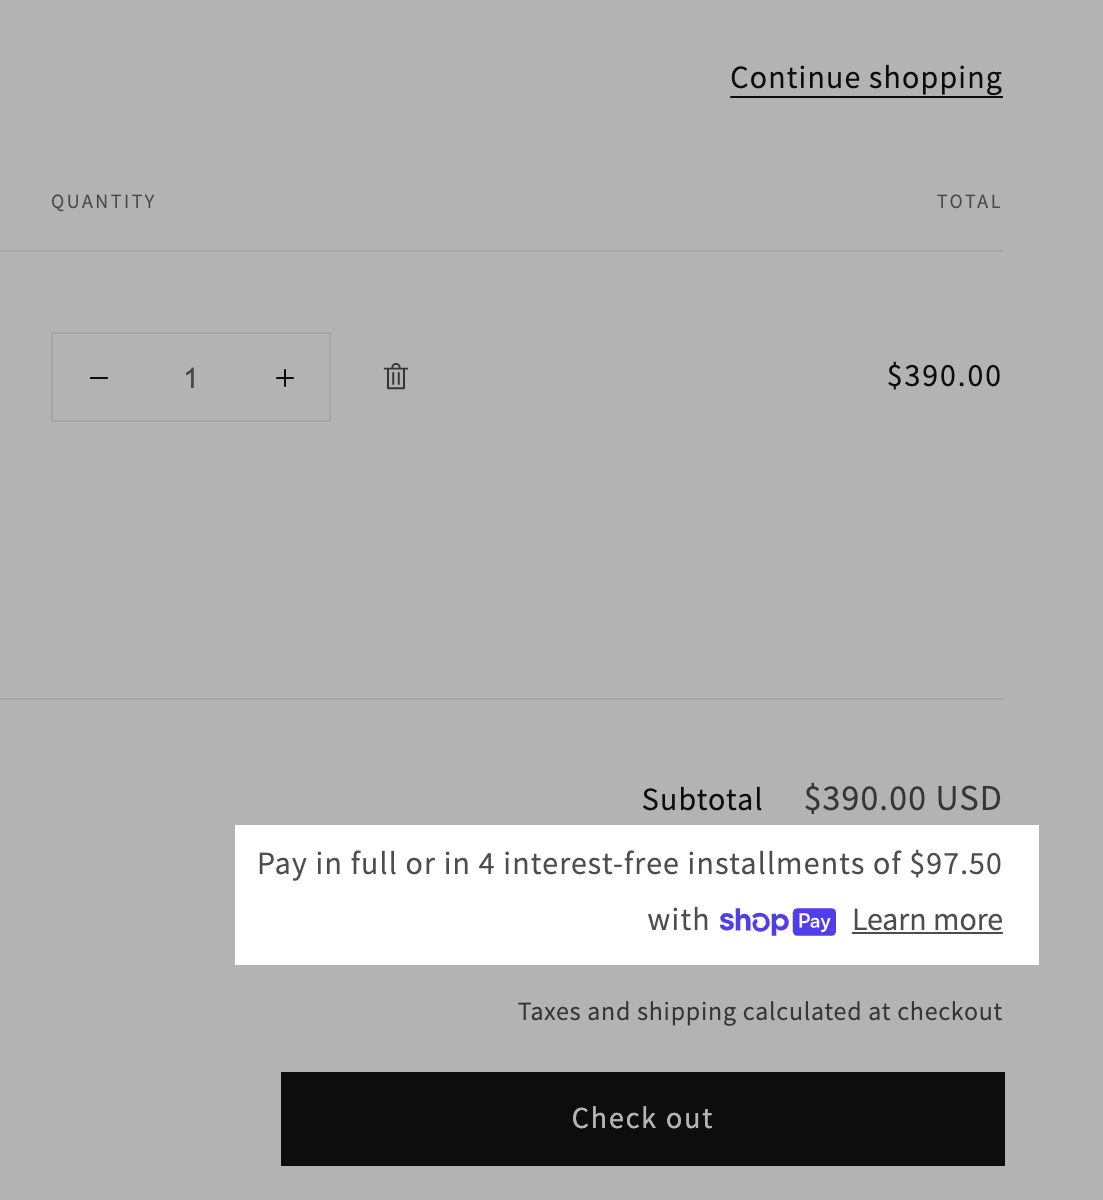
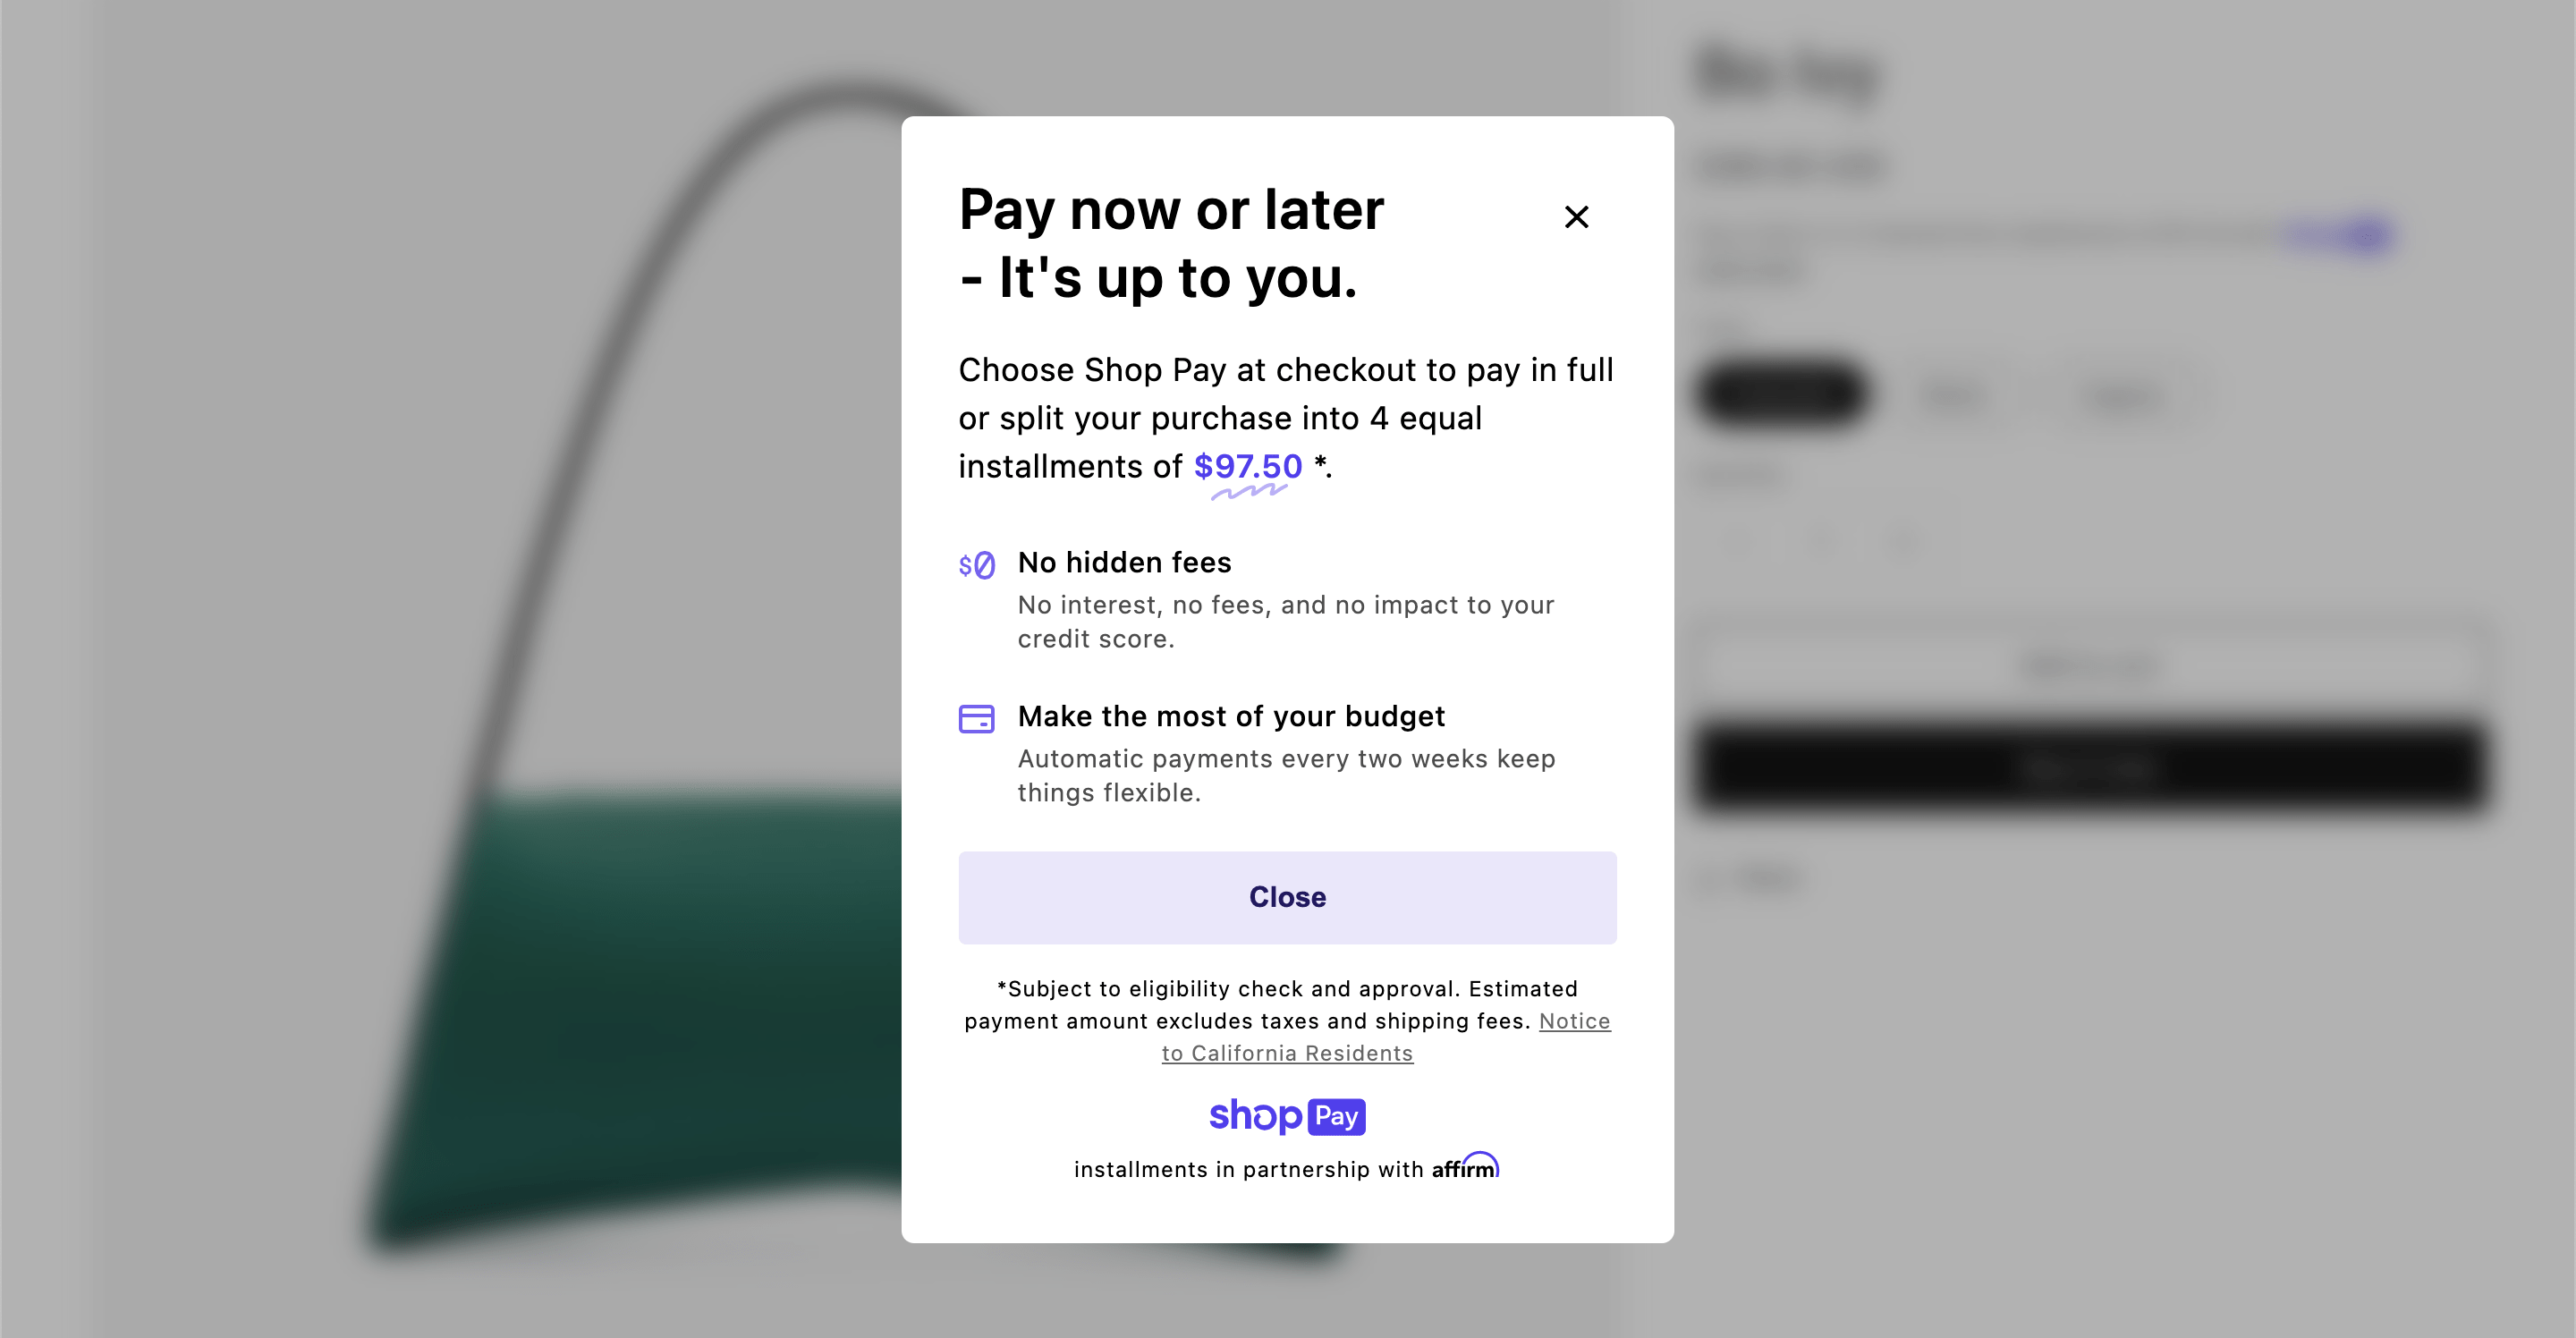
The Shop Pay Installments banner lets customers know that they have the option to pay in installments. It includes a Learn more link that opens a pop-up which shows how much the installment amount is, more information about installments, and any required disclosures.
 |  |
 | |
In this tutorial, you'll learn how to add a Shop Pay Installments banner to the following locations:
Anchor to RequirementsRequirements
Depending on where you want to add the Shop Pay Installments banner, you need to do one, or both, of the following:
- Add a product form to a template. A product form can be added to any template that can access the
productobject. - Add a cart form to a template. A cart form can be added to any template that can access the
cartobject.
Anchor to ResourcesResources
To implement this feature, you'll use the following:
- The
formobject - The
payment_termsfilter
The payment_terms filter requires the form object from the Liquid product form or cart form. If your theme doesn't use these forms, then you can convert an HTML form to Liquid by specifying any HTML attributes you need on the form.
The payment_terms filter requires the form object from the Liquid product form or cart form. If your theme doesn't use these forms, then you can convert an HTML form to Liquid by specifying any HTML attributes you need on the form.
The Shop Pay Installments banner can be added to the following locations:
The Shop Pay Installments banner appears only if Shop Pay Installments is enabled in the merchant's store.
The Shop Pay Installments banner appears only if Shop Pay Installments is enabled in the merchant's store.
To add a Shop Pay installments banner to the product form, you need to add a reference to the form object, with the payment_terms filter applied, between the opening and closing form tags:
The reference should be below the product price so that price and payment information is grouped together.
The installments banner automatically updates based on the currently selected variant. The currently selected variant is noted by a form input with an attribute of name="id".
The installments banner automatically updates based on the currently selected variant. The currently selected variant is noted by a form input with an attribute of name="id".
If your theme doesn't include the price inside the product form, then you can create a second instance of the product form near the price display to host the installments banner. Inside this second form, you need to include a hidden <input /> that notes the currently selected variant. This hidden input needs to be updated as the variant selection changes.
The payment_terms filter can be used anywhere that you can use a product form. It's commonly used in the product template, or a section inside of the template.
To add a Shop Pay installments banner to the cart form, you need to add a reference to the form object, with the payment_terms filter applied, between the opening and closing form tags:
The reference should be below the cart subtotal price so that price and payment information is grouped together.
The payment_terms filter can be used anywhere that you can use a cart form. It's commonly used in the cart template, or a section inside of the template.
To stay updated with the cart total, the banner parses for the subtotal price based on the attribute data-cart-subtotal. Most free Shopify themes have this attribute on their subtotal display by default, so the banner will update automatically. If your banner doesn't update automatically, then you need to add the data-cart-subtotal attribute to your subtotal display.