The theme editor
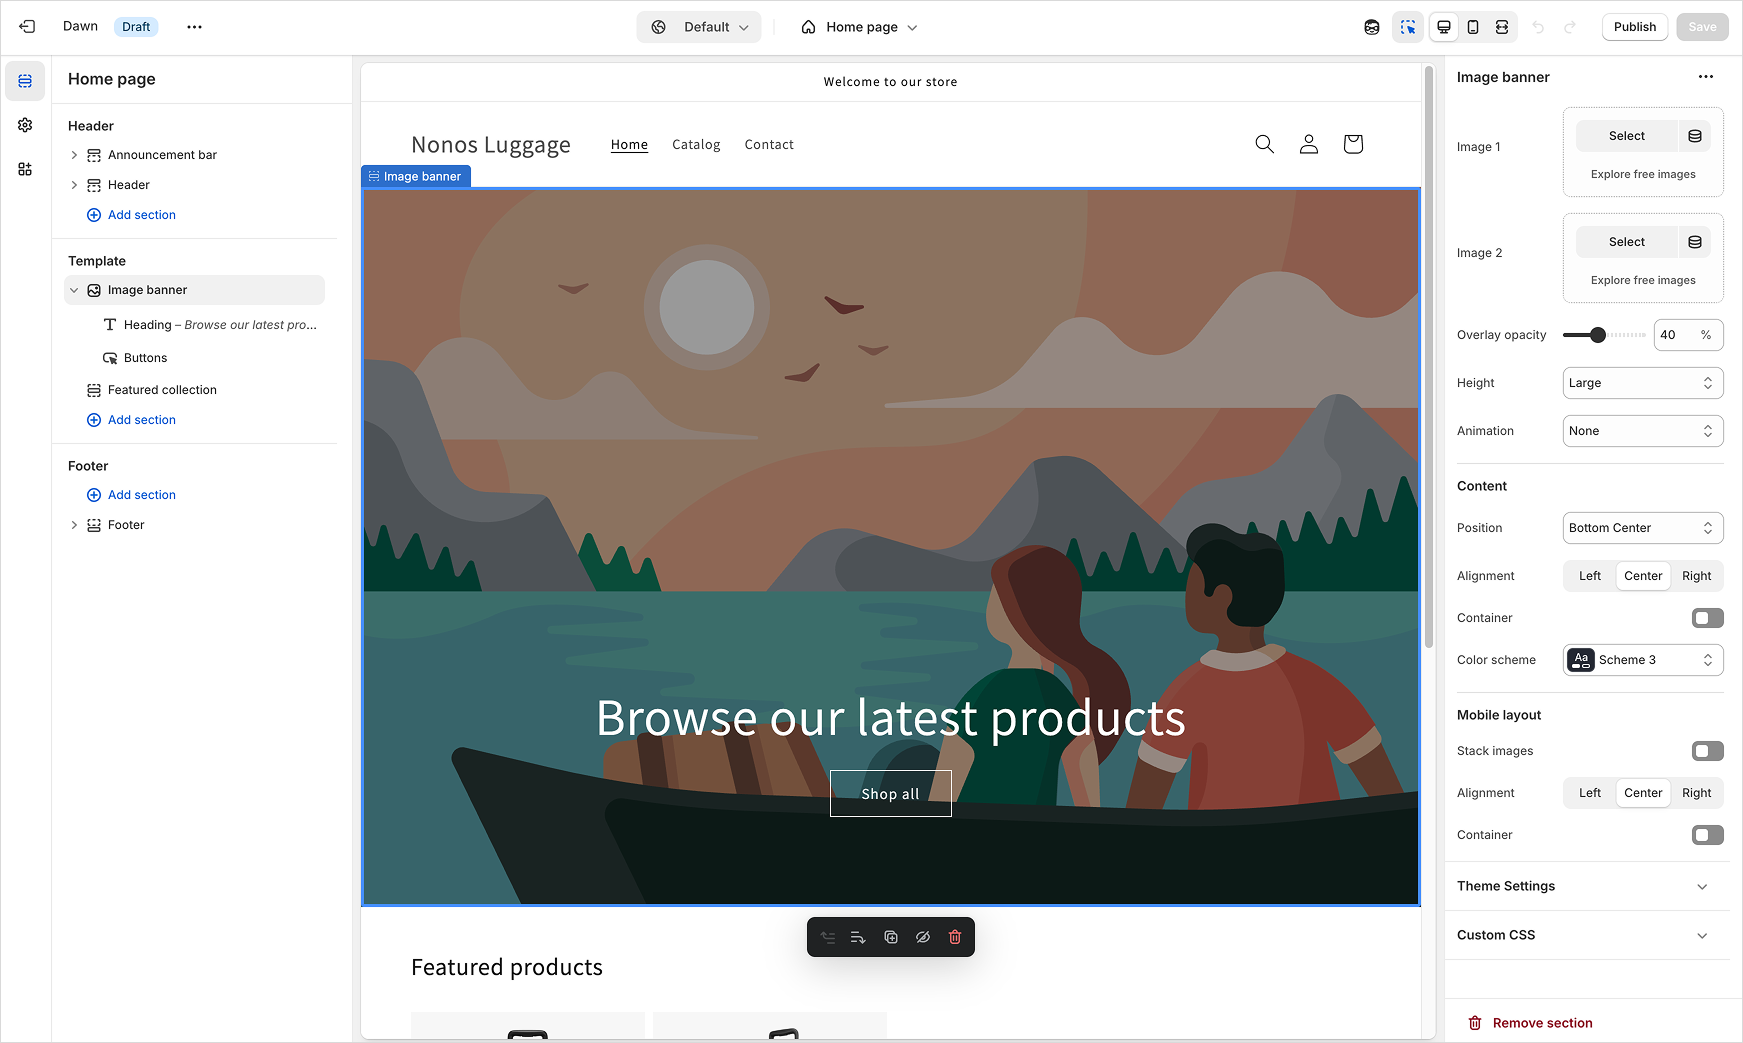
The theme editor is a tool that lets merchants customize the content and appearance of their store, and preview changes to their theme in real time.
As a theme developer, you can allow merchants to customize their theme in the theme editor by introducing settings, and by dividing your theme functionality into modular sections and blocks.
You need to integrate your theme with the theme editor to create a seamless editing experience for merchants. In the theme editor preview, the merchant should see exactly what will appear in the storefront when the theme is live.
Anchor to Accessing the theme editor through the Shopify adminAccessing the theme editor through the Shopify admin
Merchants can access the theme editor in the Shopify admin.
- From the Shopify admin, go to Online Store > Themes.
- Find the theme that you want to edit, and then click Customize.
Anchor to Accessing the theme editor during developmentAccessing the theme editor during development
To understand how your theme settings appear to merchants, you can preview your theme in the theme editor. You can access the theme editor during development by using the following methods:
- Run your theme as a development theme or push your theme to a store using Shopify CLI
- Connect a GitHub branch to your store using the Shopify GitHub integration
- Upload your theme as a ZIP to a Shopify store
You should choose the preview method that makes the most sense for your current development process.
Anchor to Allowing for customization through the theme editorAllowing for customization through the theme editor
The settings that a merchant can access in the theme editor are controlled by the theme. Settings can be specified in the following places:
- The theme's config/settings_schema.json file
- The setting attributes for each section that's included in the theme.
When a merchant configures these settings using the theme editor, their configurations are saved. Learn more about theme settings, and the types of settings that you can add to your theme.
Anchor to Live previewLive preview
The theme editor can preview certain input settings as merchants interact with them, instead of refreshing the entire storefront preview after the merchant makes a selection.
The following input setting categories support live preview:
Anchor to Color settingsColor settings
The theme editor can show a live preview of input settings that return a color object, including color and color_background.
To allow the theme editor to preview color setting changes live, reference the setting in a {% style %} tag in a Liquid template, a section, or a snippet. You can reference the color object directly, or the one of the following properties of the object:
redgreenbluergb
Anchor to LimitationsLimitations
The theme editor can't provide a live preview for color settings in the following cases.
Anchor to Filtered settingsFiltered settings
To support live preview, the theme editor renders color settings inside {% style %} tags as a CSS variable (for example, var(--shopify-variable)) instead of the merchant's selected value. Any Liquid filter applied to a color setting operates on this rendered CSS variable string, not on the underlying color value, so the live preview can't update.
For example, the following pattern can't be previewed live because the replace filter operates on the CSS variable string, not on the color's rgb value:
 | {% style %} .h1 { color: {{ settings.colors_accent_2.rgb | replace: ' ', ',' }}; } {% endstyle %} |
The same constraint affects using the default filter. In the editor, the setting value is never nil since it resolves to a CSS variable string. This causes the editor preview and the published storefront to differ.
While it is not possible to use Liquid filters and have live preview work, you can assign the setting to a Liquid variable outside the {% style %} tag, then reference the variable inside it. This will allow the filter to take effect in both the editor and the storefront.
For example, to set a fallback that takes effect in both the editor and the storefront:
 | {% assign color_value = settings.colors_accent_1 | default: '#000000' %} {% style %} .h1 { color: {{ color_value }}; } {% endstyle %} |
Anchor to StylesheetsStylesheets
The theme editor can't provide a live preview for color settings that are referenced in stylesheets that are stored in the /assets directory of a theme. Instead, we recommend declaring a CSS variable in your theme.liquid layout file and referencing it in your theme's CSS files.
Refer to theme.liquid and base.css in Dawn for an example implementation.
Anchor to Text settingsText settings
The theme editor can show a live preview of plain or rich text settings. This includes the following settings:
To allow the theme editor to preview text settings live, the code where the setting is referenced must meet the following criteria:
- The setting value must be the only child of its parent HTML element:
| <h1>{{ section.settings.title }}</h1> |
| <h1><span className="icon">...</span> <span>{{ section.settings.title }}</span></h1> |
| <h1><span className="icon">...</span> {{ section.settings.title }}</h1> |
- There must be no Liquid filters applied to the setting value, other than the
escapefilter:
| <h1>{{ section.settings.title | escape }}</h1> |
| <h1>{{ section.settings.title | replace: ' ', '-' }}</h1> |
- The setting must not be preceded by, followed by, or wrapped by other Liquid markup inside of the parent HTML element:
| {%- when 'heading' -%} <h1>{{ block.settings.title }}</h1> {%- endwhen -%} |
| <h1> {%- assign title = block.settings.title -%} {{ title }} </h1> |
| <h1> {%- when 'heading' -%} {{ block.settings.title }} {%- endwhen -%} </h1> |
- The element must not be hidden when the page loads:
| {%- unless block.settings.title == blank -%} <h1>{{ block.settings.title }}</h1> {%- endunless -%} |
Anchor to Integrating your theme with the theme editorIntegrating your theme with the theme editor
You need to make sure that your theme behaves in the editor the same way it would in the storefront. In some cases, you need to adjust your theme's behavior when it's being previewed in the theme editor to give merchants this experience.
To make your theme context-aware, you need to integrate with the theme editor.
Integrating with the theme editor allows you to do the following:
- Disable any code that should be run only when the theme is viewed by a customer
- Enable or disable any code that should be run only when the theme is being edited
- Make sure that any necessary code is run or cleaned up when a section is added, removed, customized, or moved
Anchor to Detecting the theme editorDetecting the theme editor
You shouldn't use these methods to change the storefront preview that's displayed in the theme editor. In most cases, the preview that merchants see in the theme editor should match what their customers see on the live store.
A use case for this variable is to prevent theme editor session data from being included in any page tracking scripts. Another use case is working with a third-party API that returns and outputs any errors to the theme editor but never to the live store.
Anchor to Using LiquidUsing Liquid
The request.design_mode global variable can be used in your theme's Liquid files to detect whether the storefront is being viewed in the theme editor. The value of the variable is set to true when viewing the theme editor. Otherwise, it's set to false.
Anchor to Using JavaScriptUsing Java
The Shopify.designMode global variable can be used in your theme's JavaScript files to detect whether the storefront is being viewed in the theme editor. The value of the variable is set to true when viewing the theme editor. Otherwise, it's set to undefined.
Anchor to Reacting to theme editor JavaScript eventsReacting to theme editor Java
When a merchant interacts with a section or block in the theme editor, or activates or deactivates the theme editor preview inspector, the theme editor emits JavaScript events. To learn about the actions that your code should take to account for these events, refer to Integrate sections with the theme editor.