UX for delivery options
All apps should follow the general guidance provided by App Design Guidelines. This guide provides additional guidance for customizing delivery options with Shopify Functions.
Anchor to Required pagesRequired pages
Delivery customizations require the following kinds of pages:
-
A template for the user to create the customization
-
A customization detail page for the user to edit existing customizations
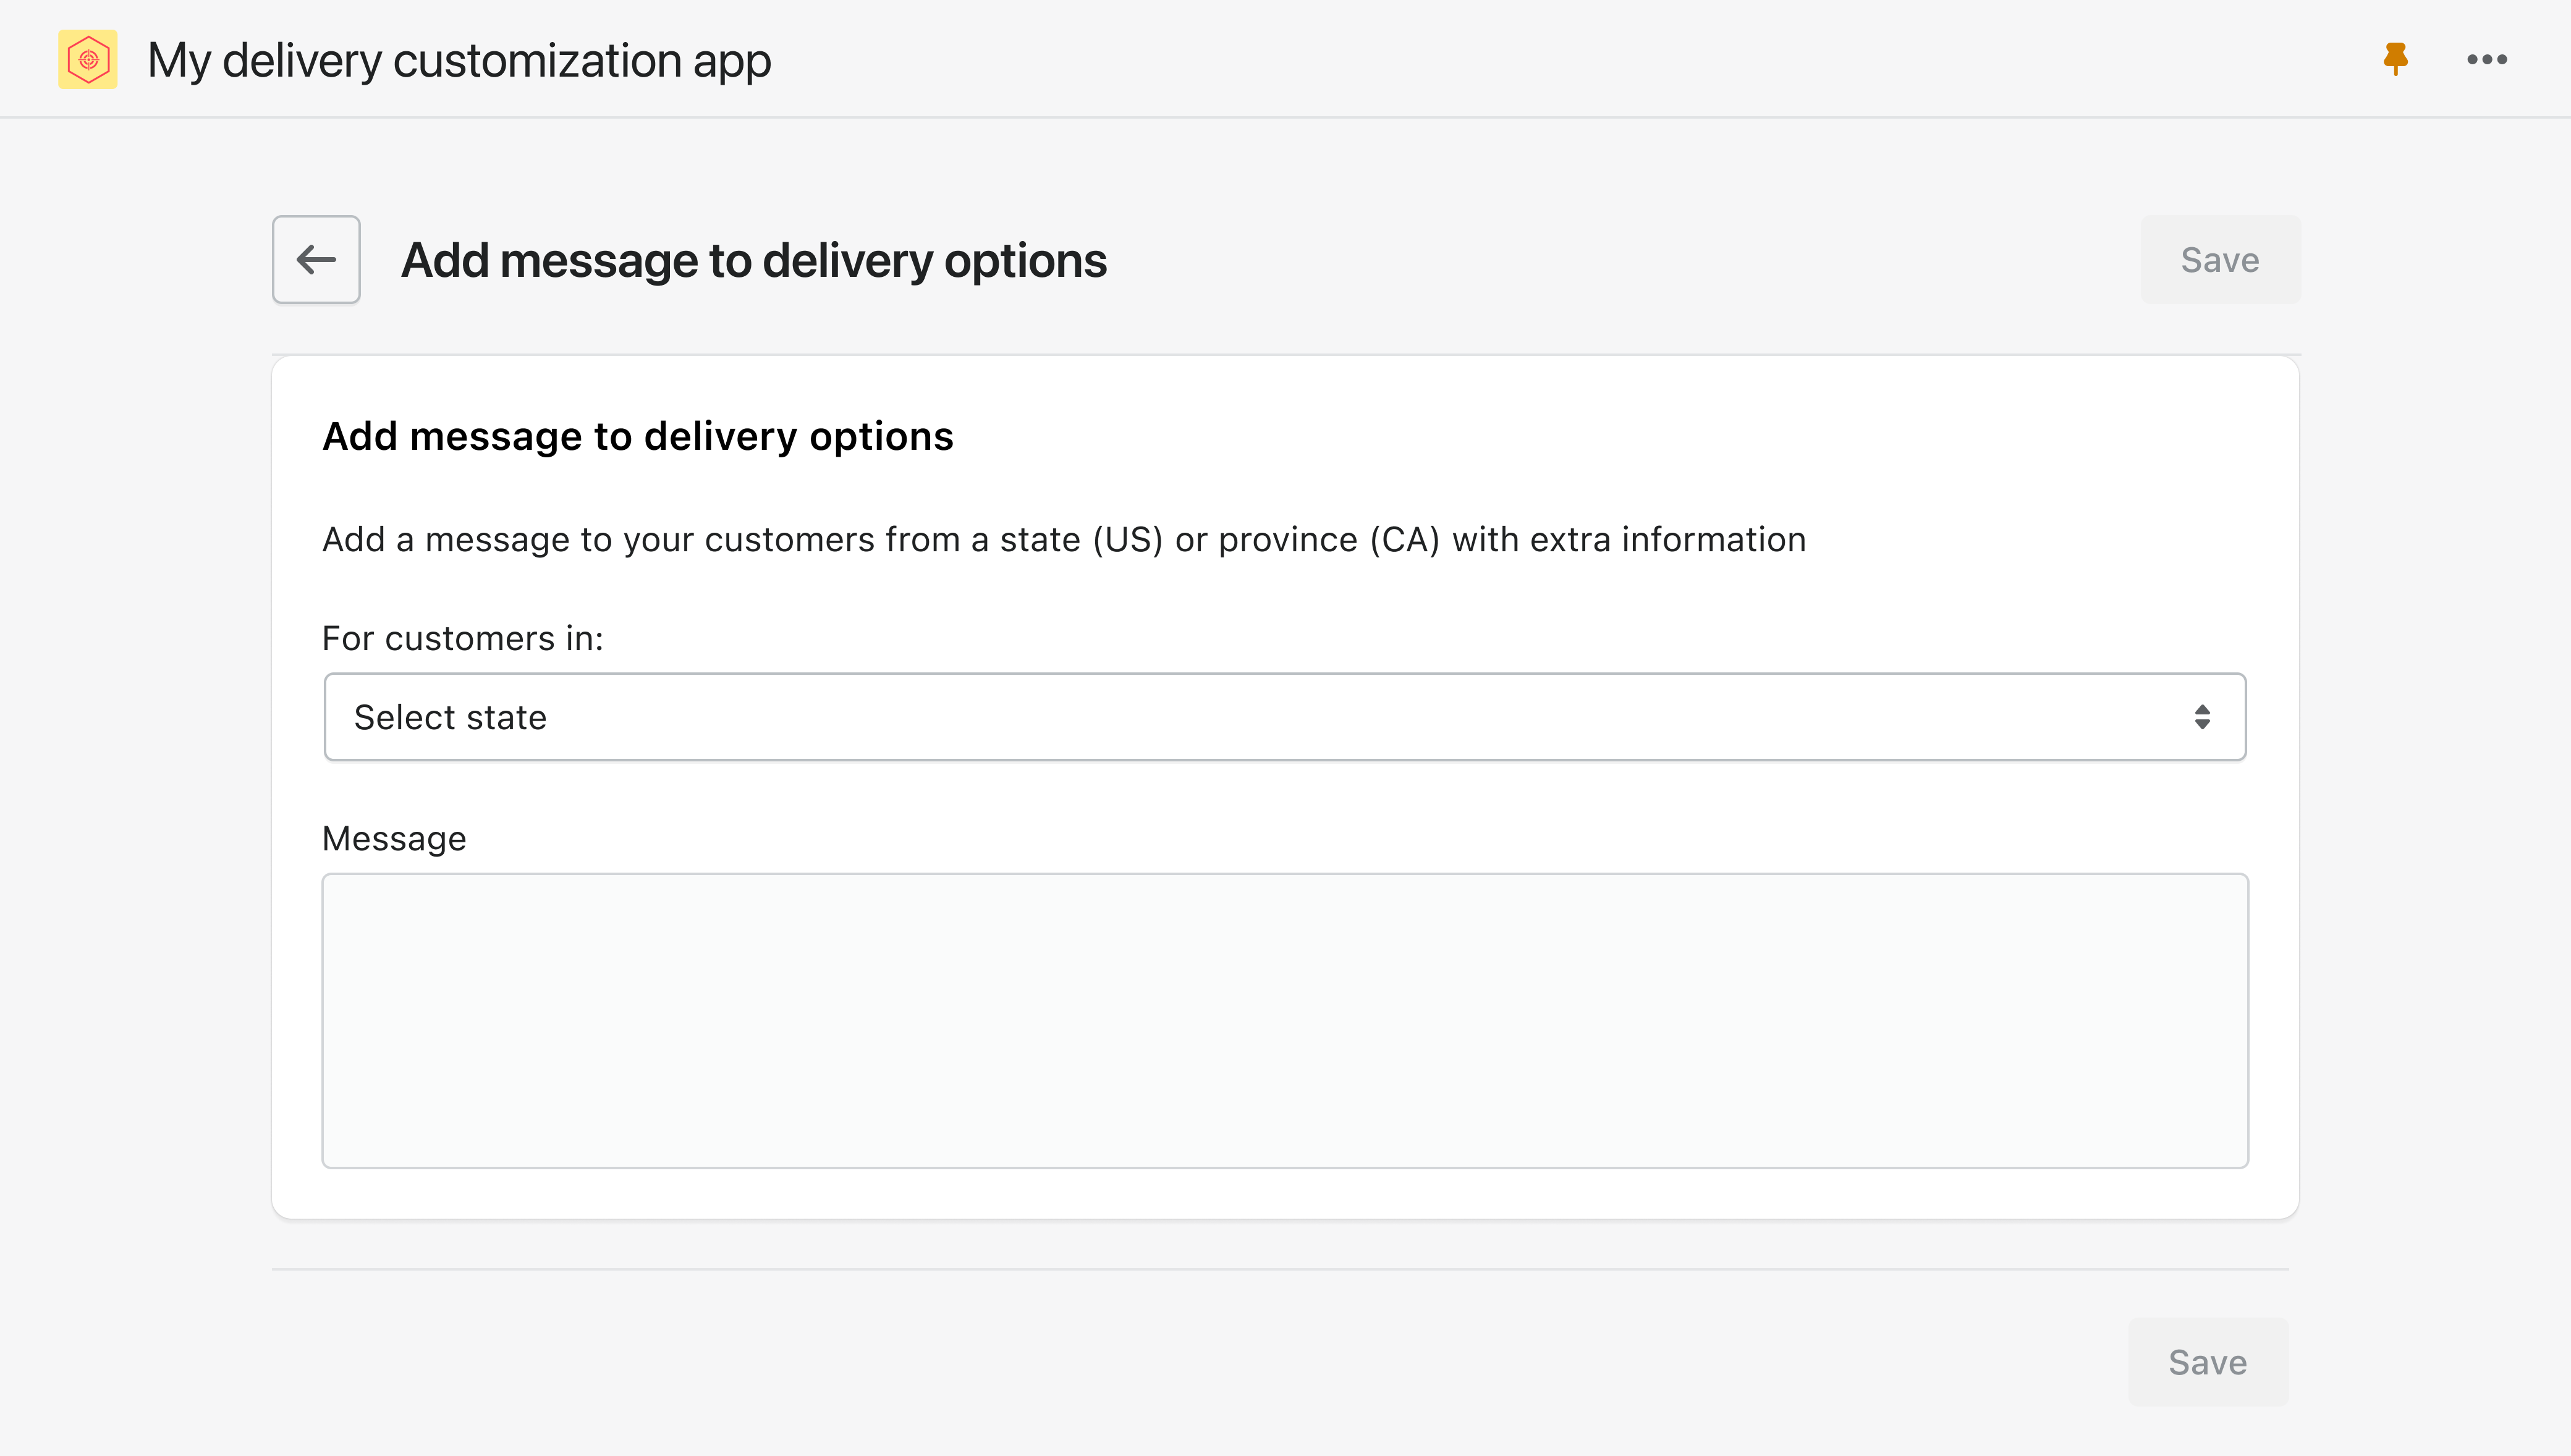
The user views the blank template page when they first create a customization:
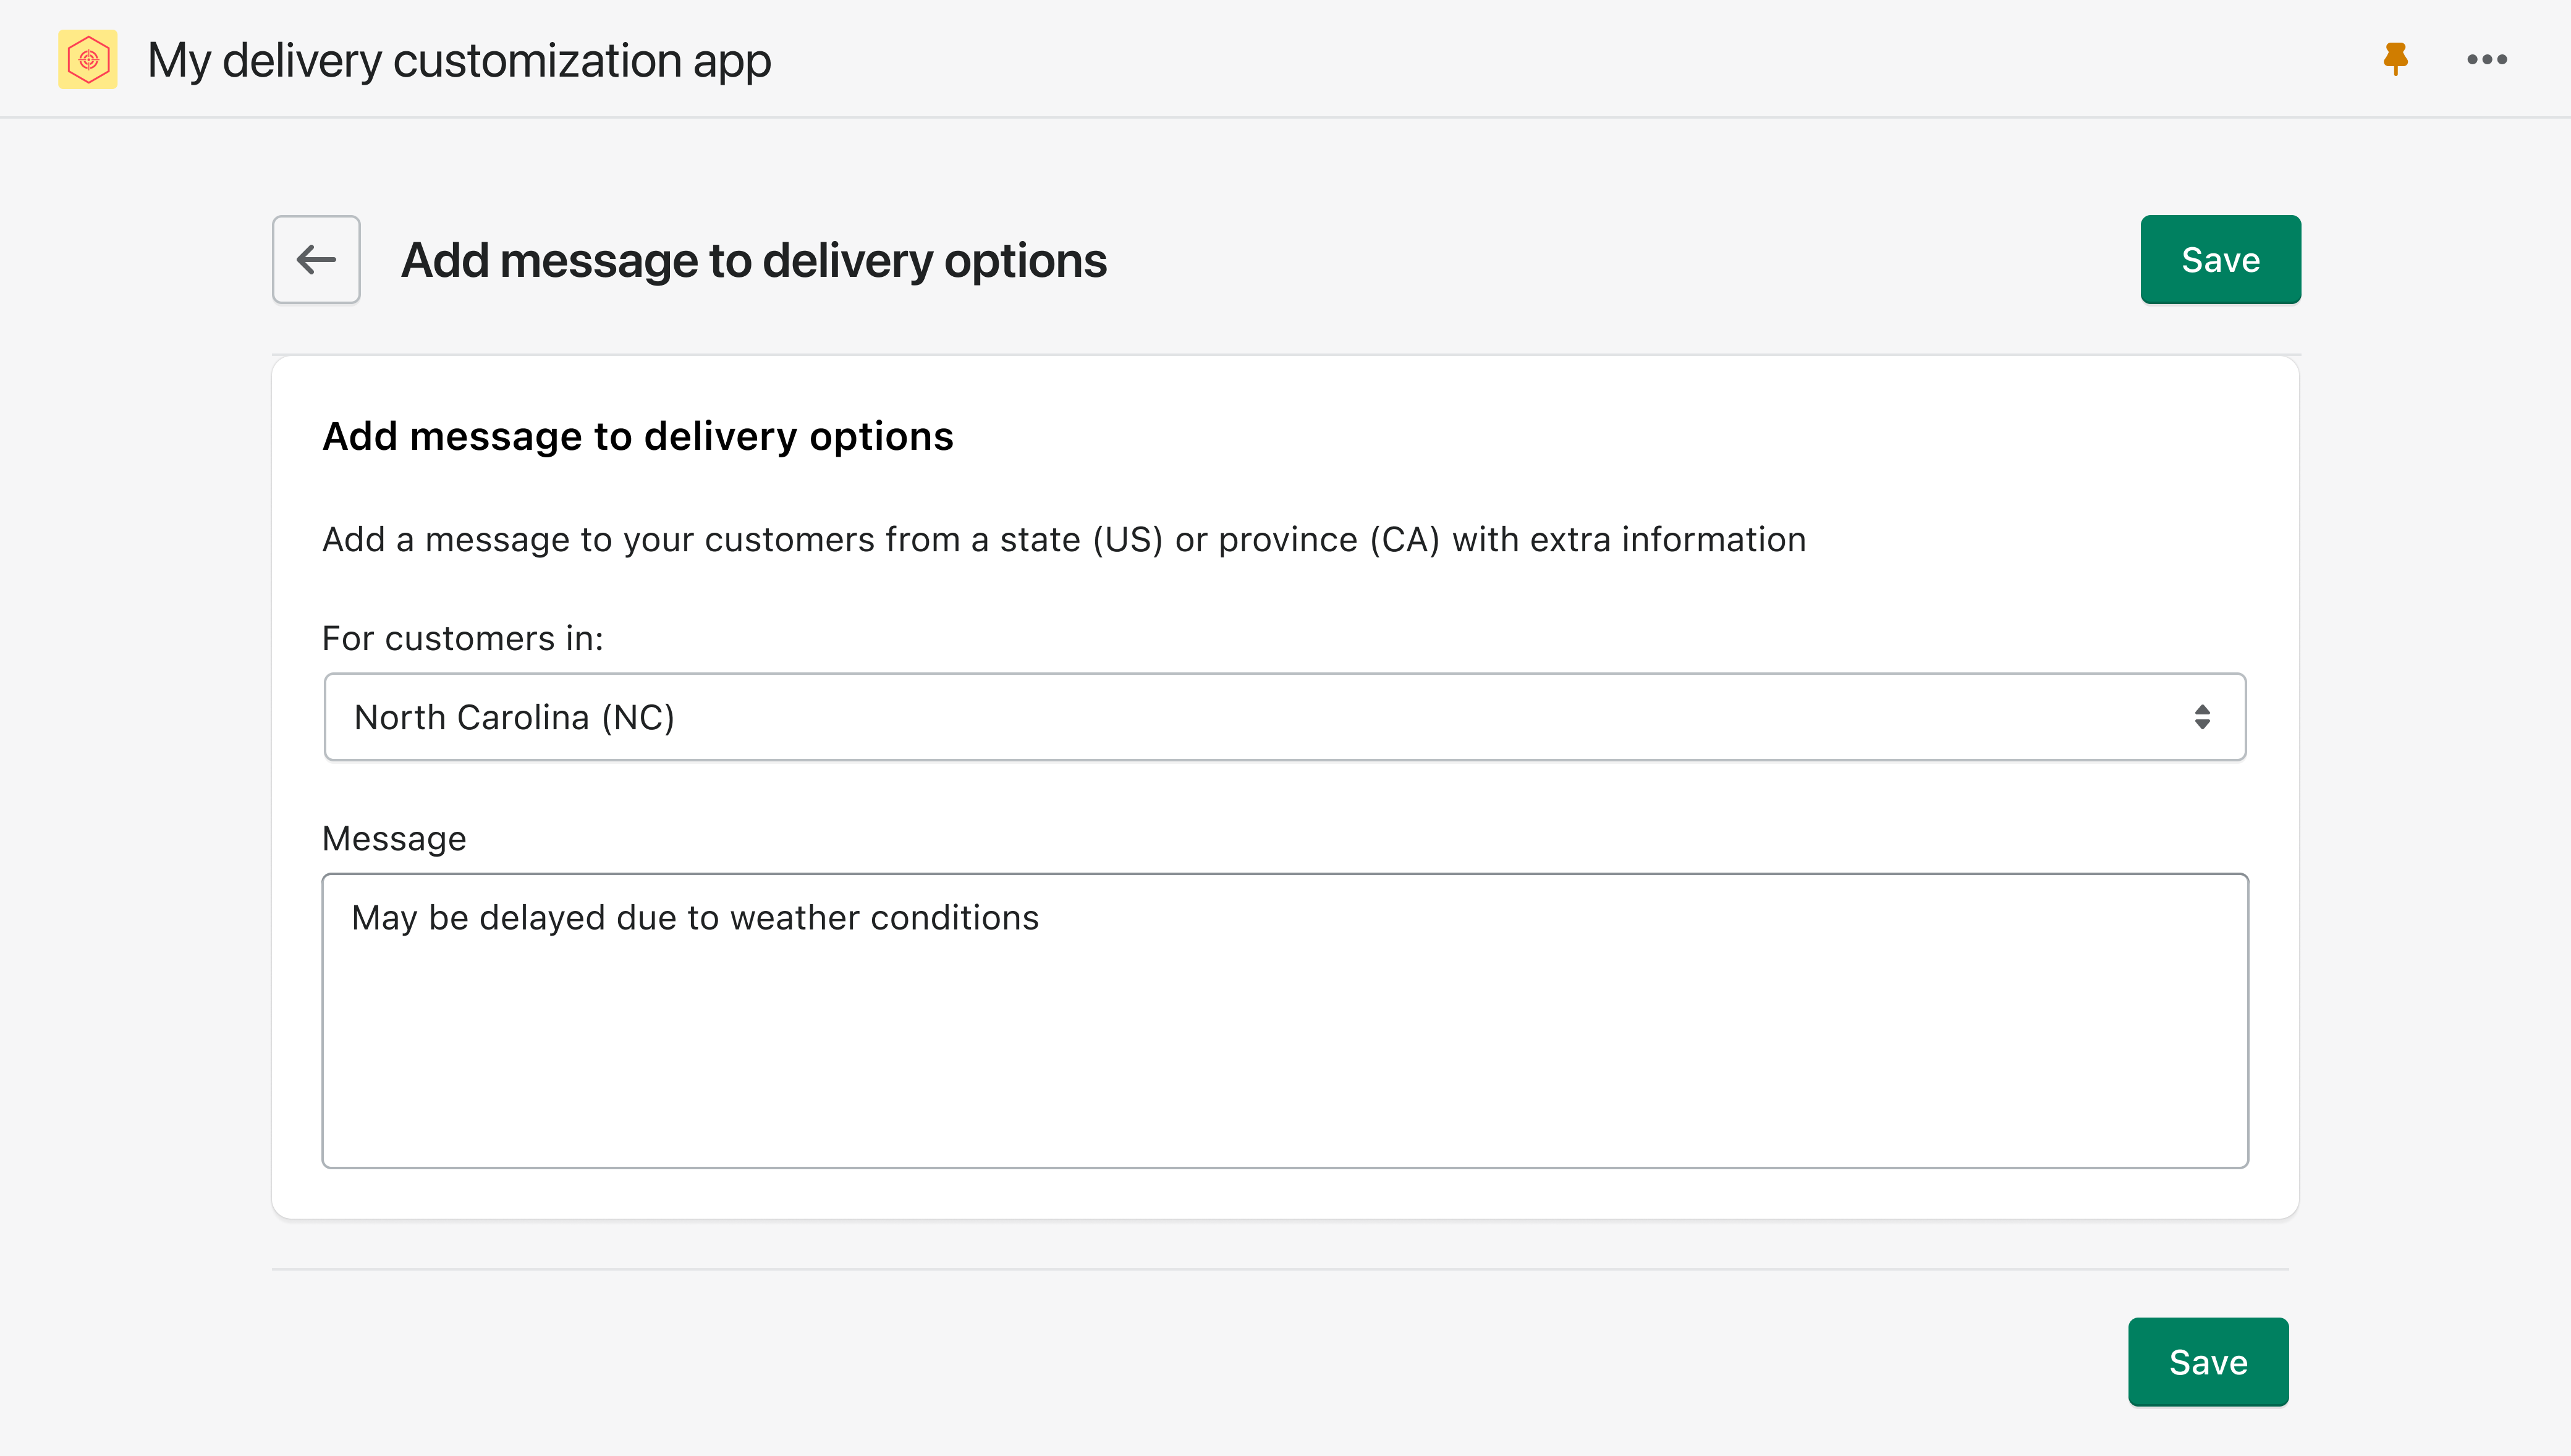
The user views a customization detail page when they edit an existing customization. We recommend that Save buttons are enabled only when the user has made changes to the form:
Bulk actions are hidden from the Polaris resource list in the mobile view. We recommend adding delete, activate, and deactivate buttons to the customization detail page so that users can edit existing customizations in the mobile view.
Bulk actions are hidden from the Polaris resource list in the mobile view. We recommend adding delete, activate, and deactivate buttons to the customization detail page so that users can edit existing customizations in the mobile view.
Merchants can configure delivery customizations in the Shopify admin under Settings > Shipping and Delivery > Delivery customizations.
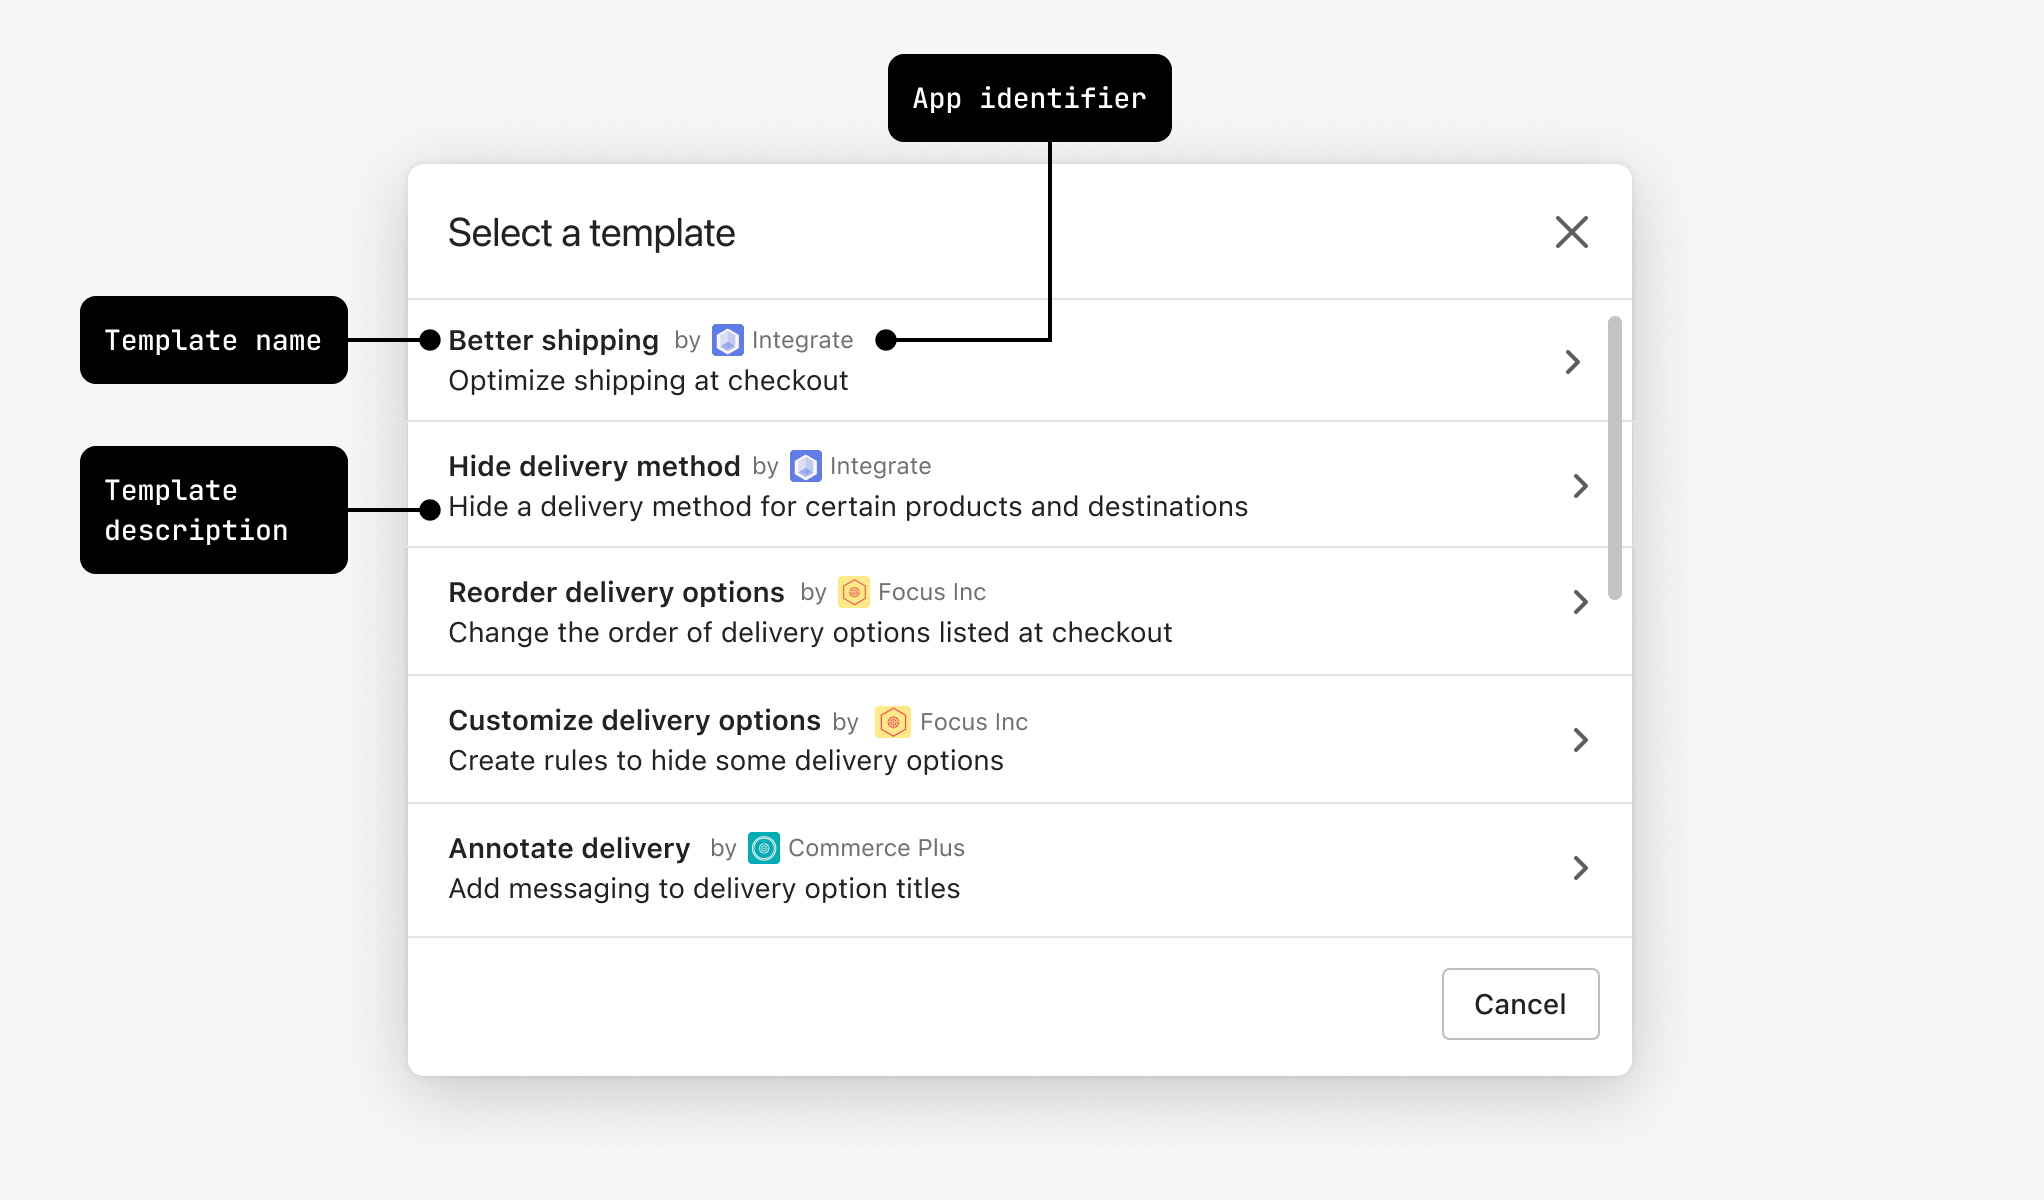
When an app using a delivery customization is installed, a button allows the merchant to add the customization, and navigates to an empty index page. From there, the merchant can open a modal with available templates. Your app's template page routes will appear in this list.
The template page has a breadcrumb button (the arrow ← next to the page title). This button must always go back to the page that the user came from.
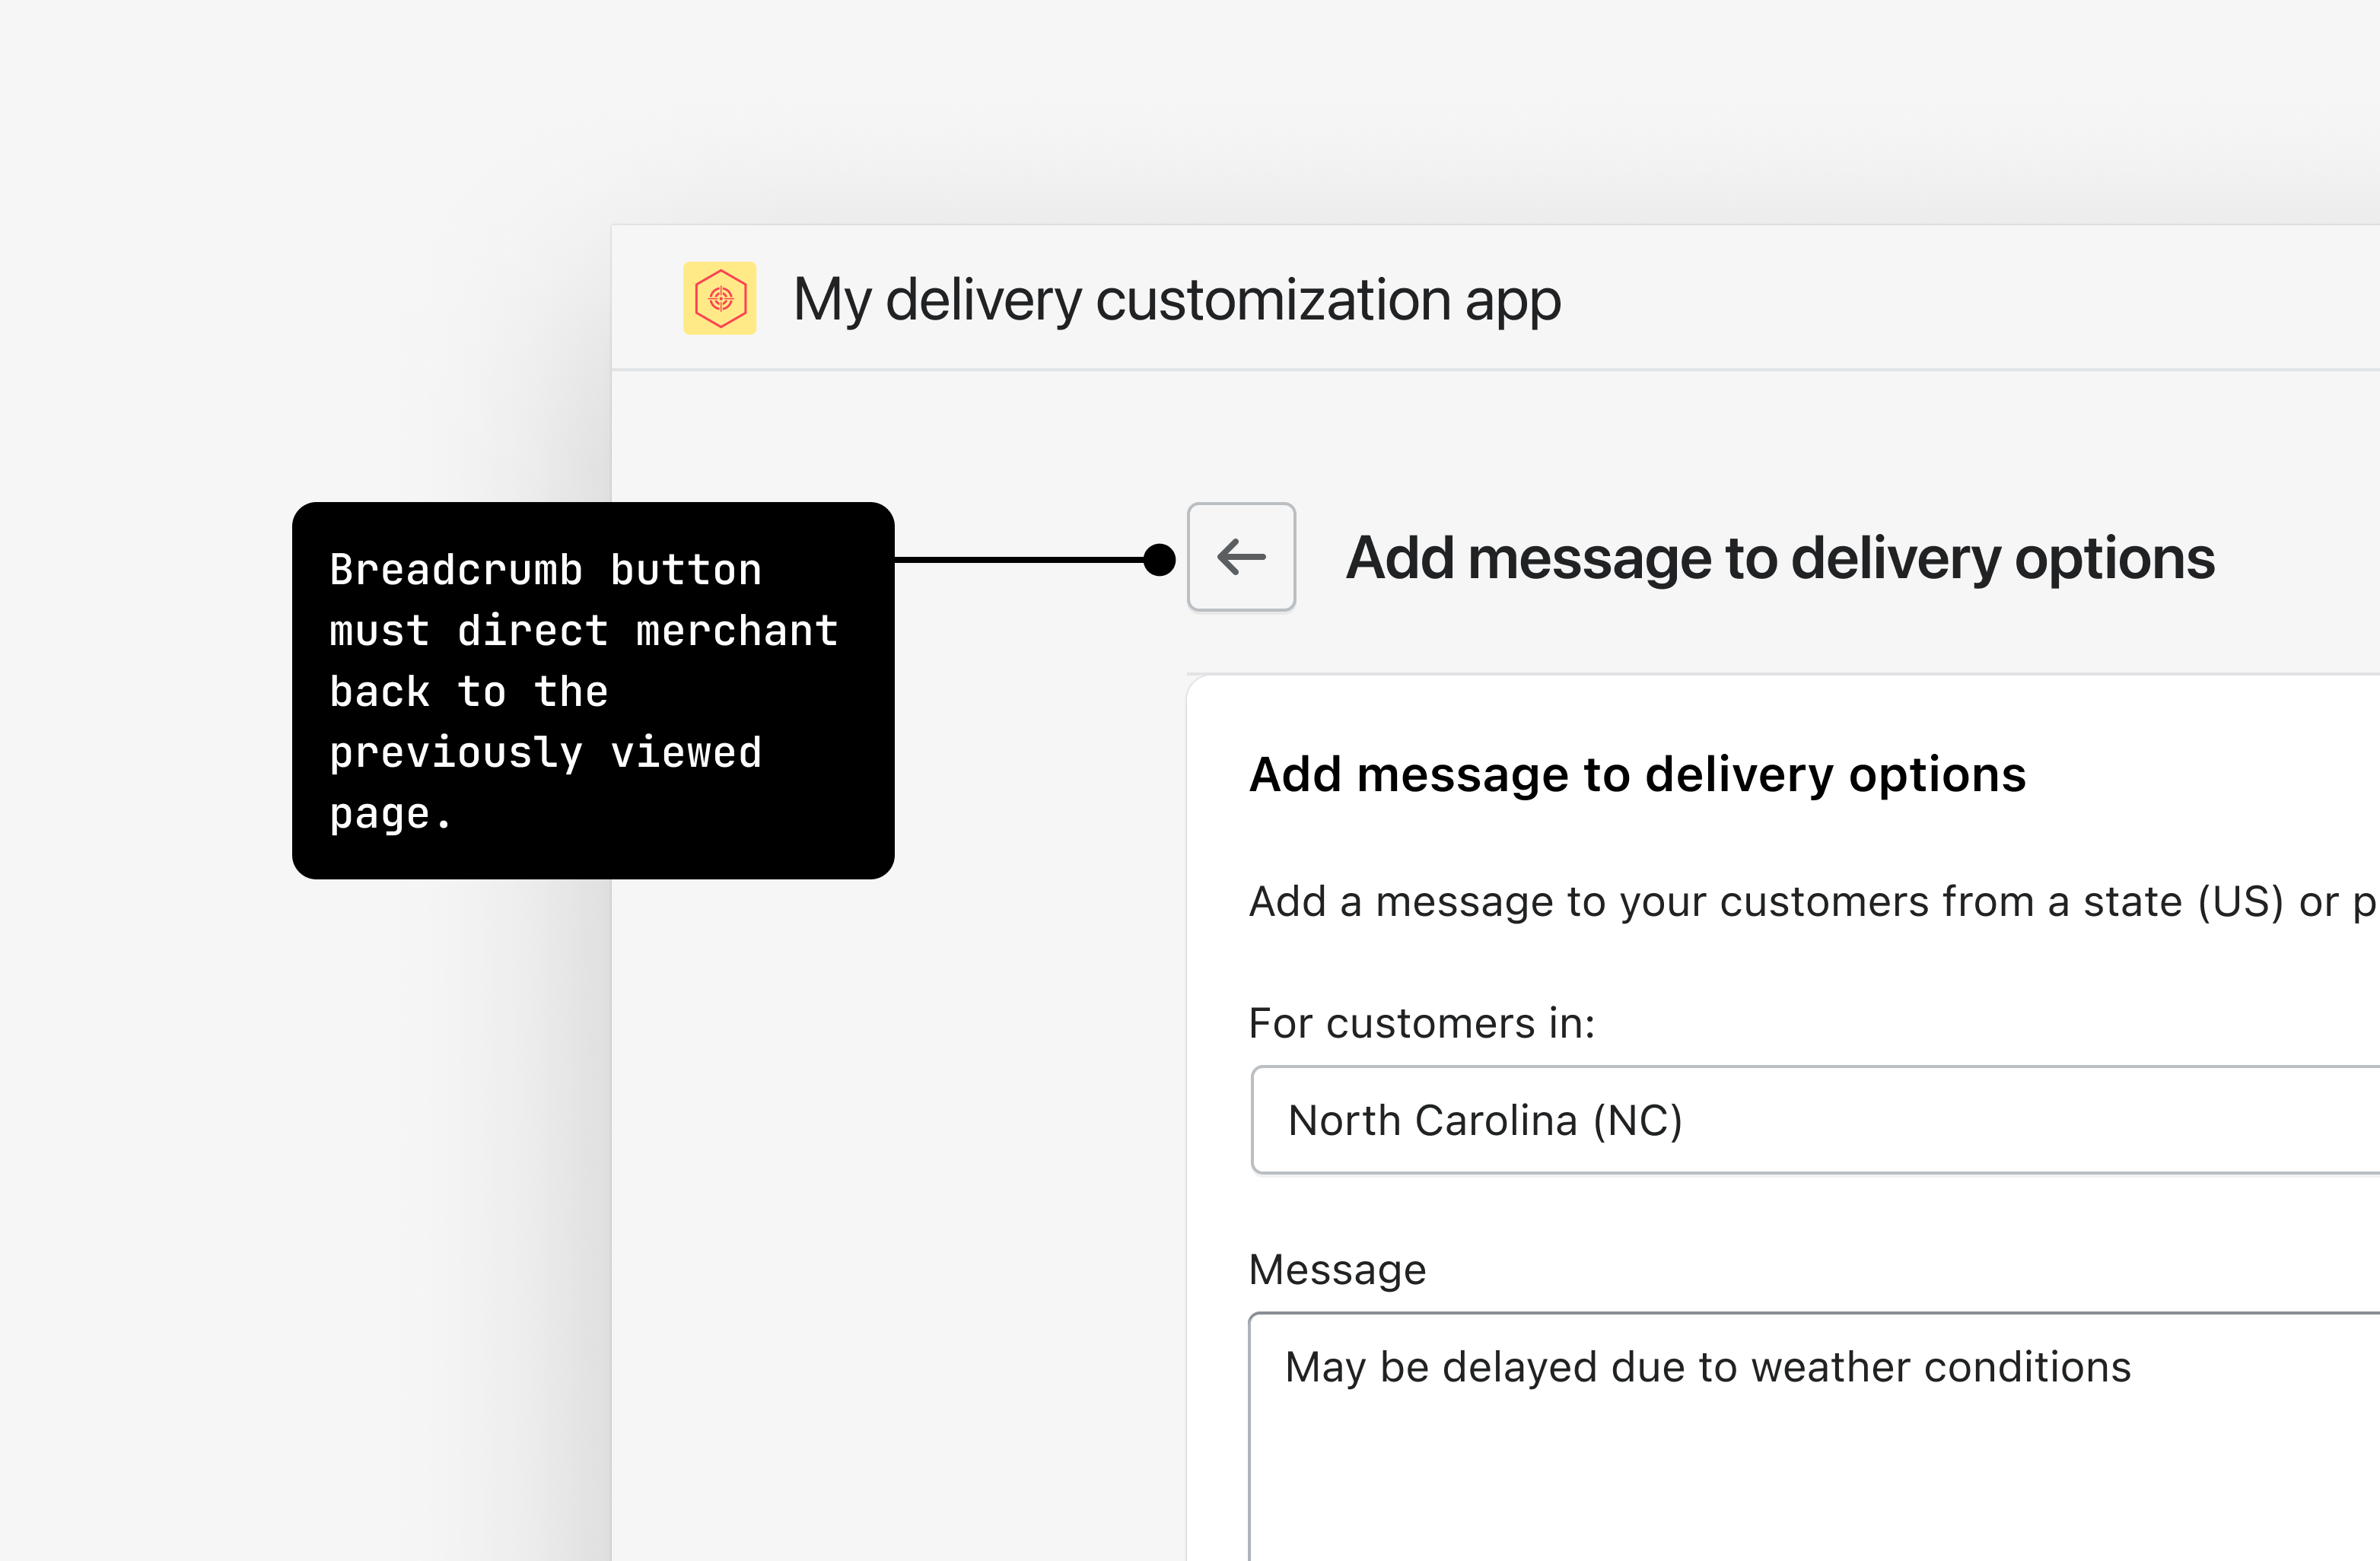
For example, when the template page is reached from Settings in the Shopify admin, the button must return the user to the same Settings page. If you choose to link to your customization page from somewhere else, such as a page in your app, then the breadcrumb button must return the user to that page.
Anchor to Error validationError validation
You'll get errors back from bad data passed to API calls, but validating the data client-side before firing off a network request makes for a faster UI experience.
If you choose to validate on the client, then take extra care with free-form entry, such as text fields. Run your validation check only after focus moves away from the field and there's at least one character in the field. This helps avoid marking the field with an error before users have committed a value.
You might choose not to validate client-side in some cases, such as when validation on a given field takes longer than 1000 ms and validation performance can’t be improved.
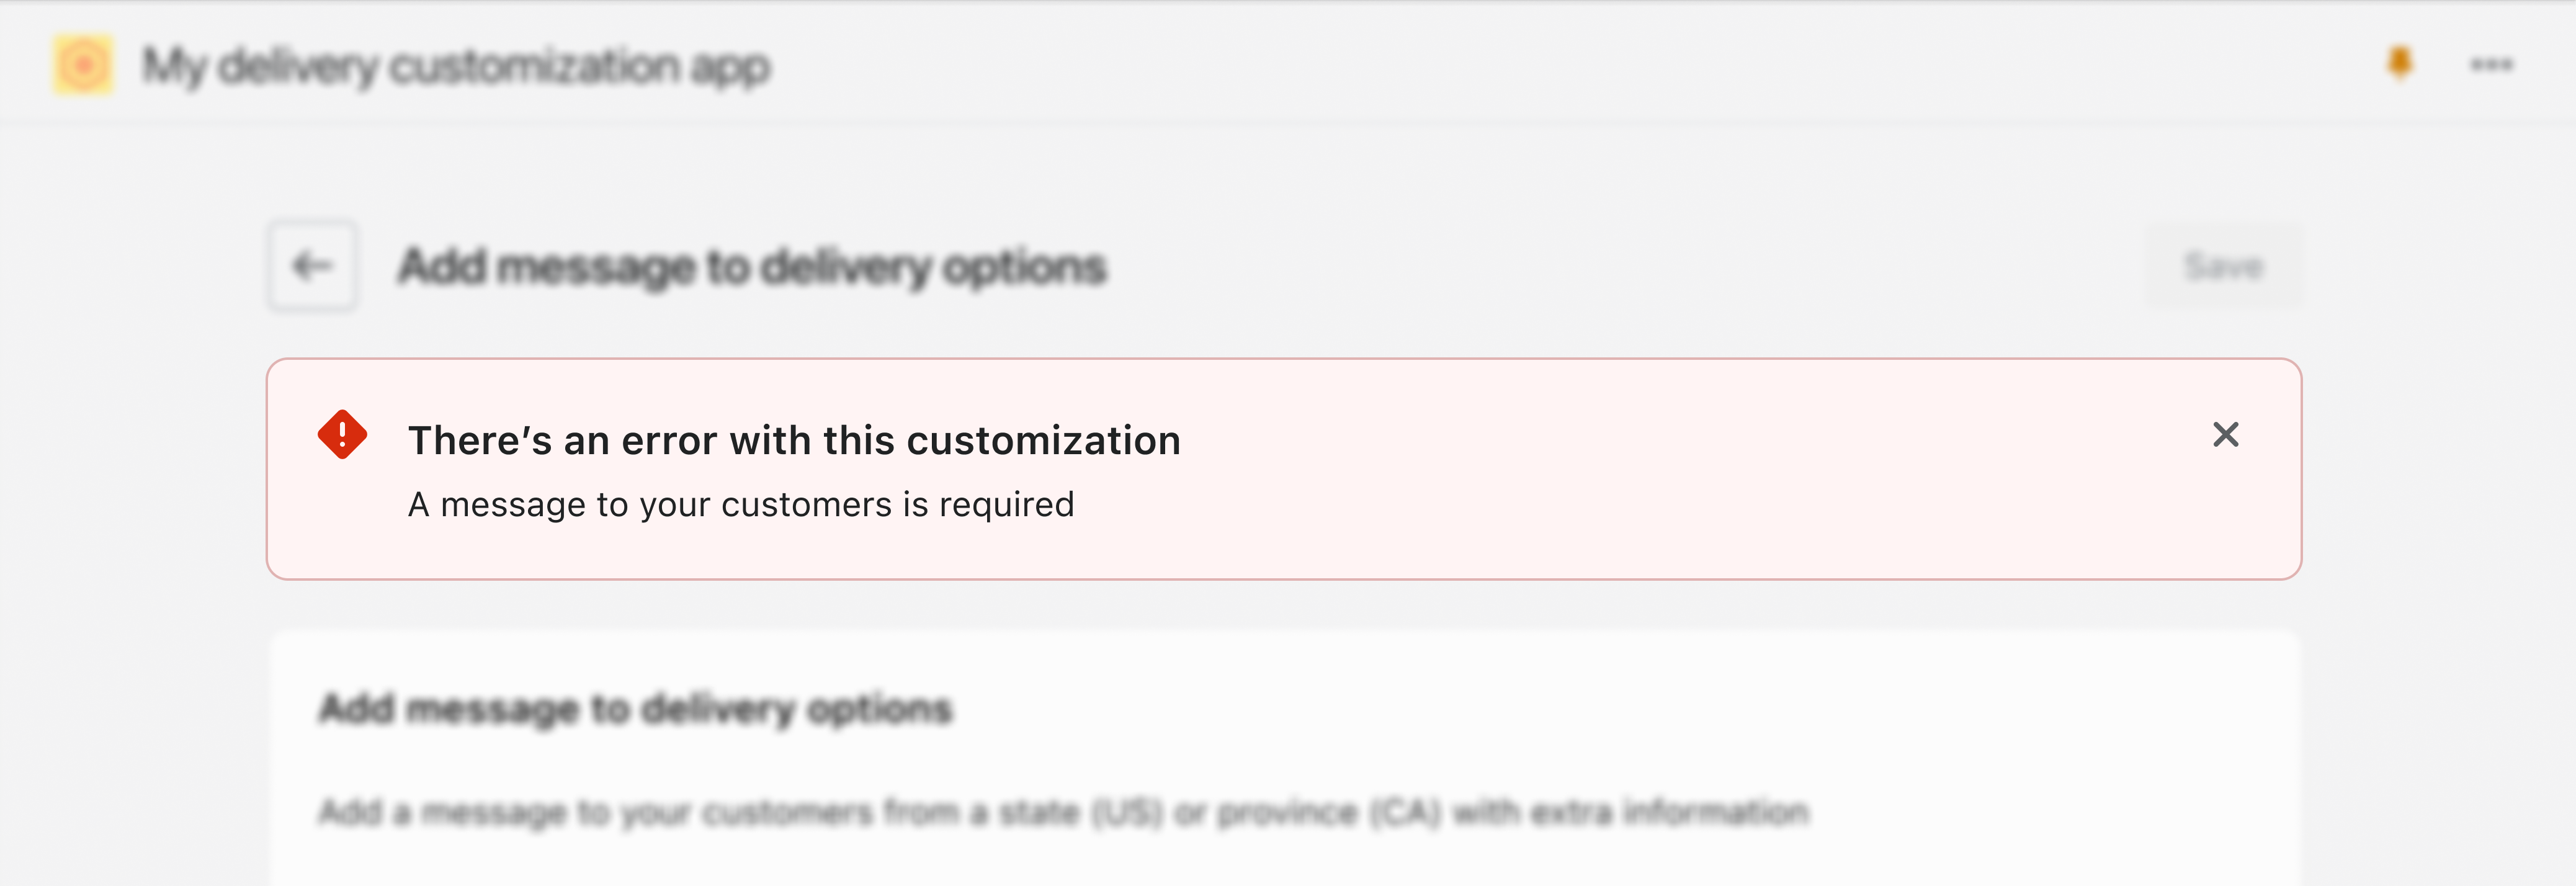
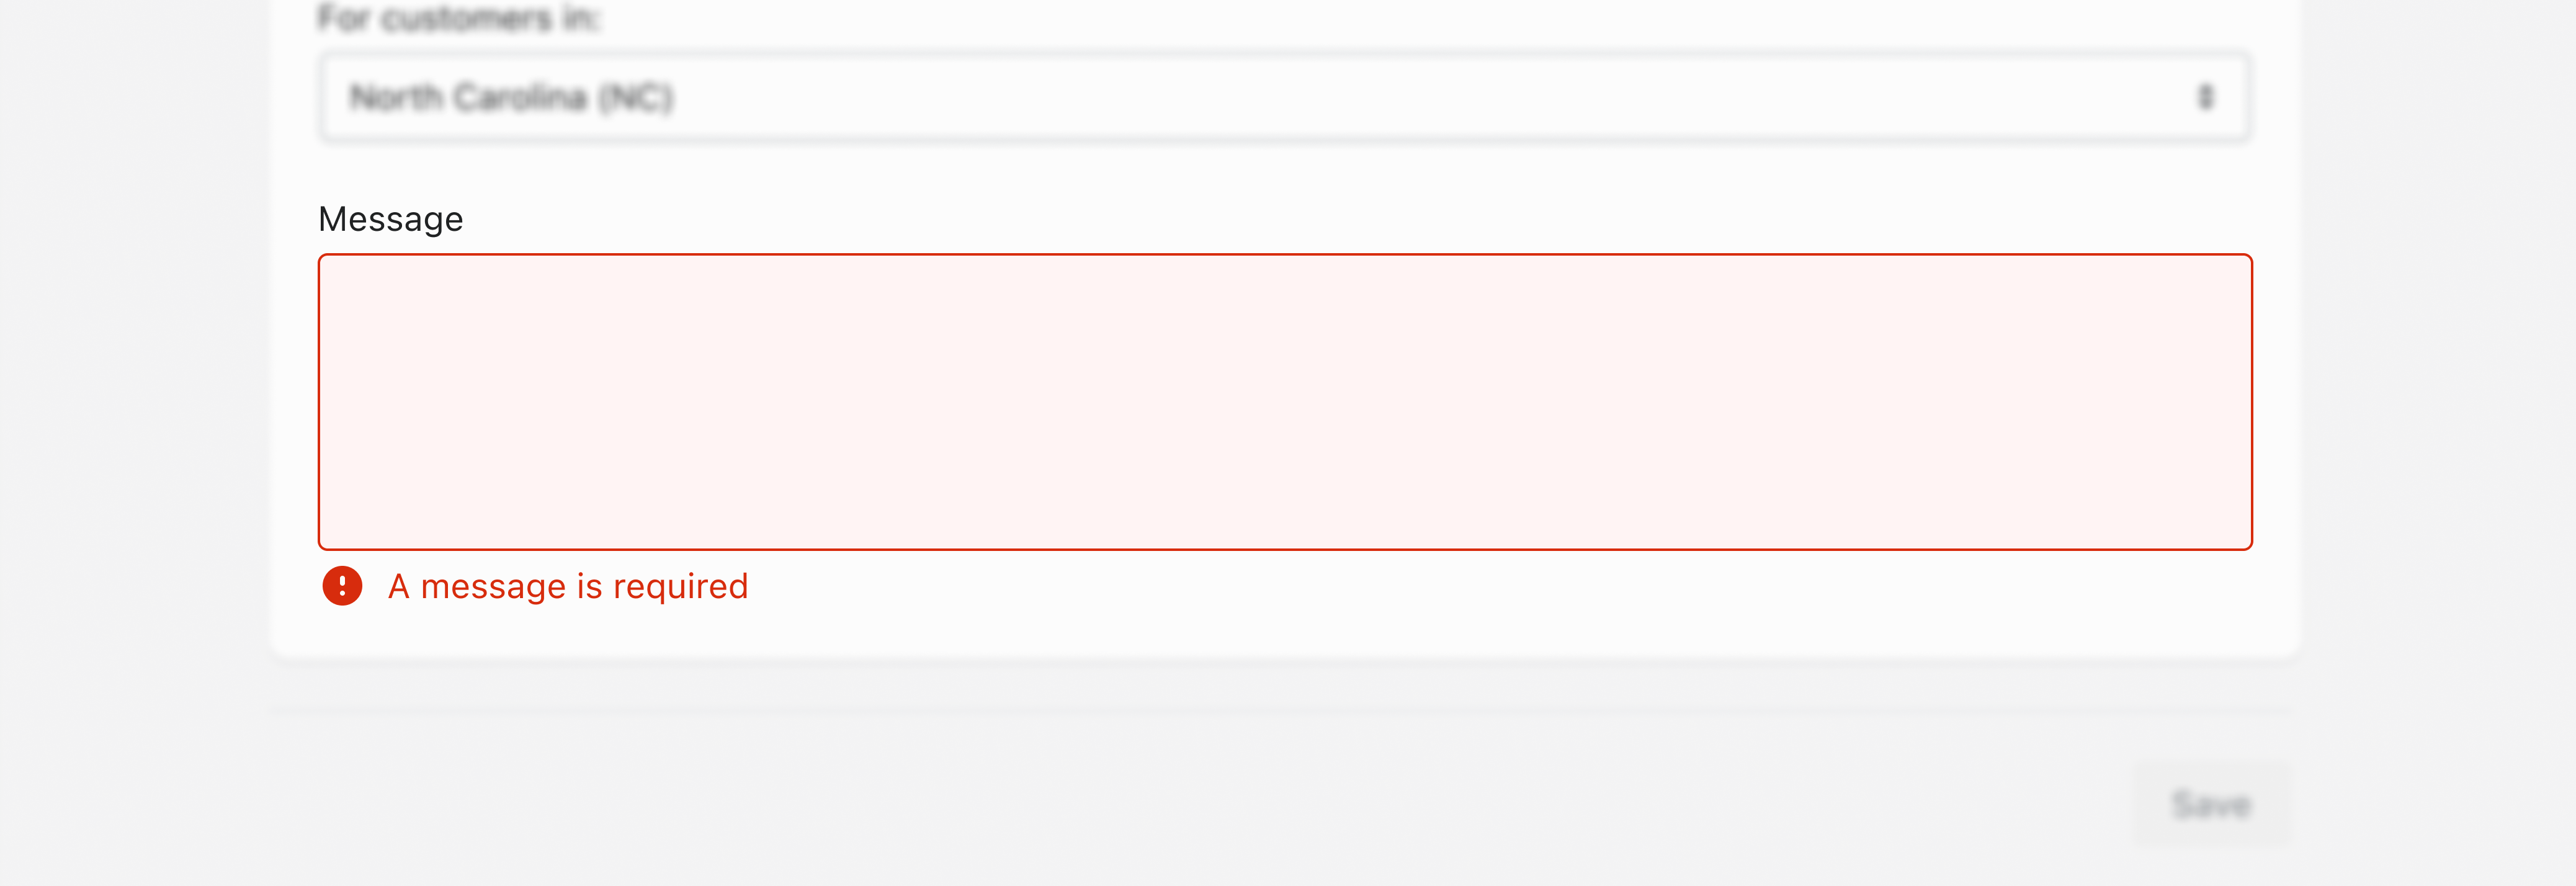
If you get any validation errors, then display them on the specific fields that contain the invalid data, including a message explaining what went wrong and how to fix it. Polaris form components have an error property that you can use for this purpose.
If there are multiple invalid fields, then provide an error banner at the top of the page, and focus the banner on submit. The banner should include a list of the fields with problems. Link each item in the banner to the corresponding field on the page, enabling the user to jump to that field.
If there is only a single field with an error, then move focus to that field instead.
Learn more about form validation.
Anchor to Next stepsNext steps
- Use Shopify Functions to rename a delivery option offered to customers at checkout.
- Explore UX guidelines for the entire checkout experience.
- For practical guidance on how to design a user interface for the Shopify admin, refer to Shopify's App Design Guidelines.
- Get familiar with Polaris accessibility and content guidelines.